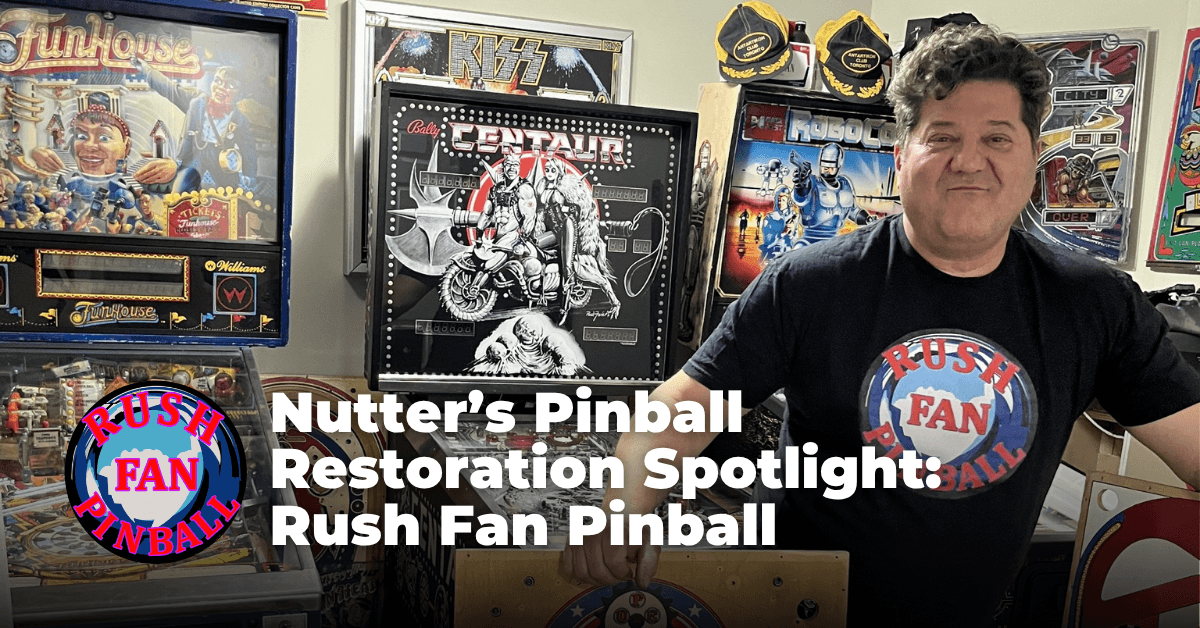
“Hello Fellow Rushians!”
I always know I’m in for a fun video when I hear that one. “Fans of the Canadian rock band Rush call each other ‘Rushians,’” Sam says. “I thought it would be a fun way to introduce the videos.”

Sam's first pinball memory is from 1972, when he was five years old. “I remember going shopping with my mom at the local mall that had a bunch of pinball machines. I was fascinated with the artwork and watching older guys play. I begged my mom to pop in a quarter, and 50+ years later, I still feel like that 5-year-old kid when I play.”
I found Sam’s Rush Fan Pinball channel a few years back. I was searching for a DIY solution, and I quickly found myself sucked into the vortex of Sam’s work. One video led to another, and, before I knew it, I’d been on the toilet for an hour. He had cost-effective, creative solutions to problems I didn’t even know I had.
Q2 Transistor vs. Nail and Blow Torch
Sam’s pinball restoration hobby started sometime around 2008 when he got into refurbishing arcade games. “I made my first multiplayer multi-game arcade machine,” he said. “A friend of mine asked if I could make one for him. So, I told him to find a shell, and we’d do it together.” The pair found an ex-operator and went to see what they could find. “I saw a Stern Stars pinball machine and asked how much he wanted for it. He repeated more than once that the game didn’t work, we agreed on the price of $300, and I took it home. I plugged it in and, of course, nothing.”
Well, Sam did what any logical DIY person looking to fall into a lifelong hobby would do… he figured it out. “I did a whole bunch of reading and research. Long story short, the MPU didn’t flash. I looked at the board and noticed that the transistor at Q2 (part of the reset section of the MPU) had a leg that was literally rusted off the board. I didn’t even have a soldering iron, so I heated up a nail with a blow torch and managed to replace the part and turned the game on.” Boom! The game lit up and started playing. “I thought it was an absolute genius. That’s when I got the bug.”
Creative approaches aside, this made me curious how he learned some of these skills. Sam has always been handy. This gave him a level of confidence to tackle tough projects. He claims he’s not very “artsy,” but his DIY backglasses might say otherwise. “My restoration is always trial and error,” Sam said. “That’s why I relish in mistakes. I can learn from what I did and how to improve.” A good attitude for a challenging hobby.
This made me wonder, how did he learn his skills? Did it tie into his day job? “I’m actually in the car business,” he said. “Some people have commented that I have a different car in every video... lol. Pinball restoration doesn’t tie into my day job, per se, but it does tie into a philosophy of continuously improving yourself and just trying to do better.” Good advice. My day-job boss and this article’s editor tell me to “Do Better” all the time.
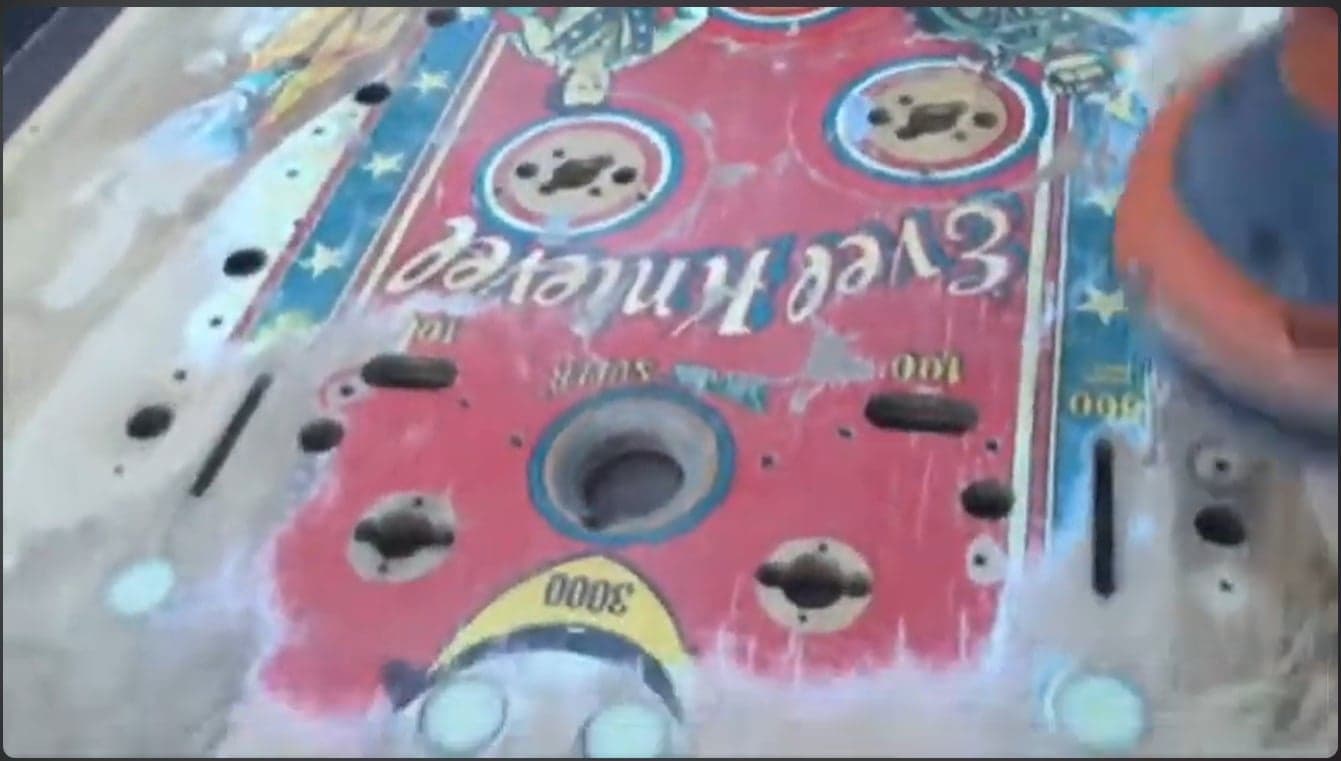
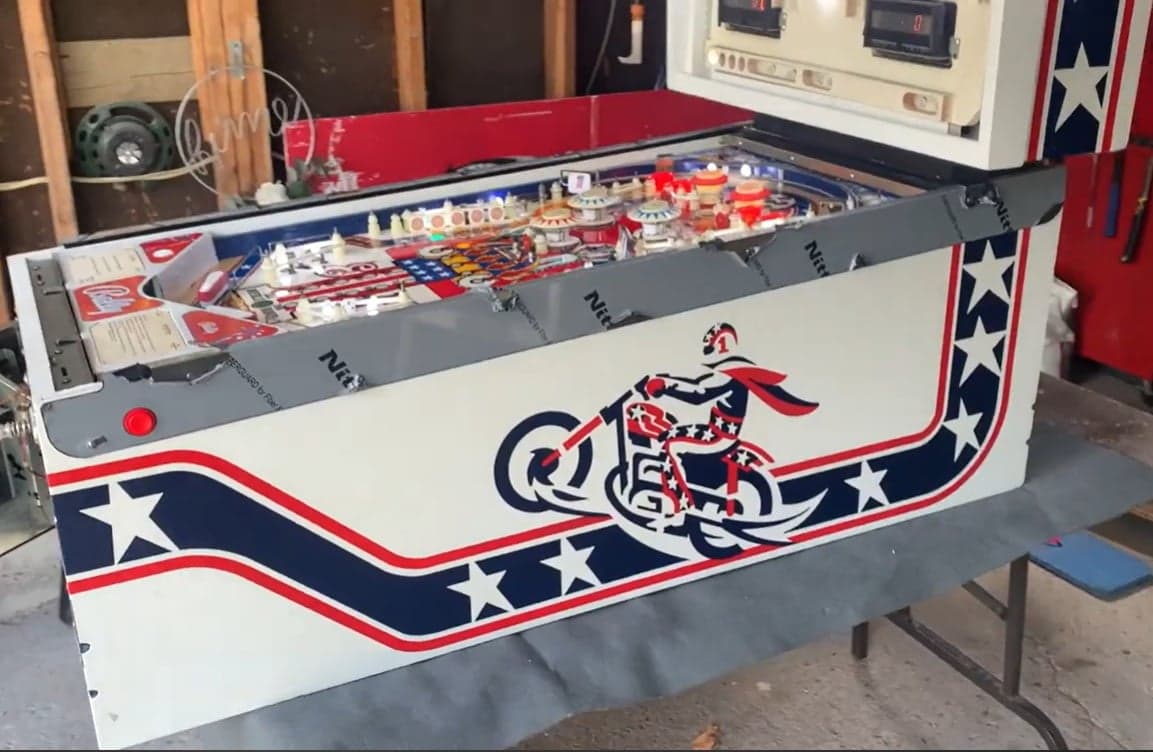
After Sam got the Stars working, he made it his mission to find his all-time favorite pinball machine, Evel Knievel. “He was the absolute coolest guy ever, and I remember the game from when I was a kid,” Sam reminisced. “I found one that was in rough shape, of course, and thought, ‘you know what, I’m going to refurbish this’. A few months later, I ended up with something really decent. If you look at one of my first videos, you’ll notice that I am sanding down an Evel Knievel playfield. That’s what kicked this whole thing off.”
Sam’s Restoration Philosophy
I tried to come up with some witty way to characterize Sam’s restoration philosophy, but I think he said it best himself, “Do the best you can and have fun. If you mess it up, try again.” This is sage advice. Some people will either edit out the mess-ups or simply not post failures at all. This is most definitely not how pinball restoration progresses. When people sugarcoat or selectively post, it gives newcomers the illusion that this isn’t an iterative or difficult process. Personally, I learn a lot more by watching someone mess up…and it sticks with me longer.
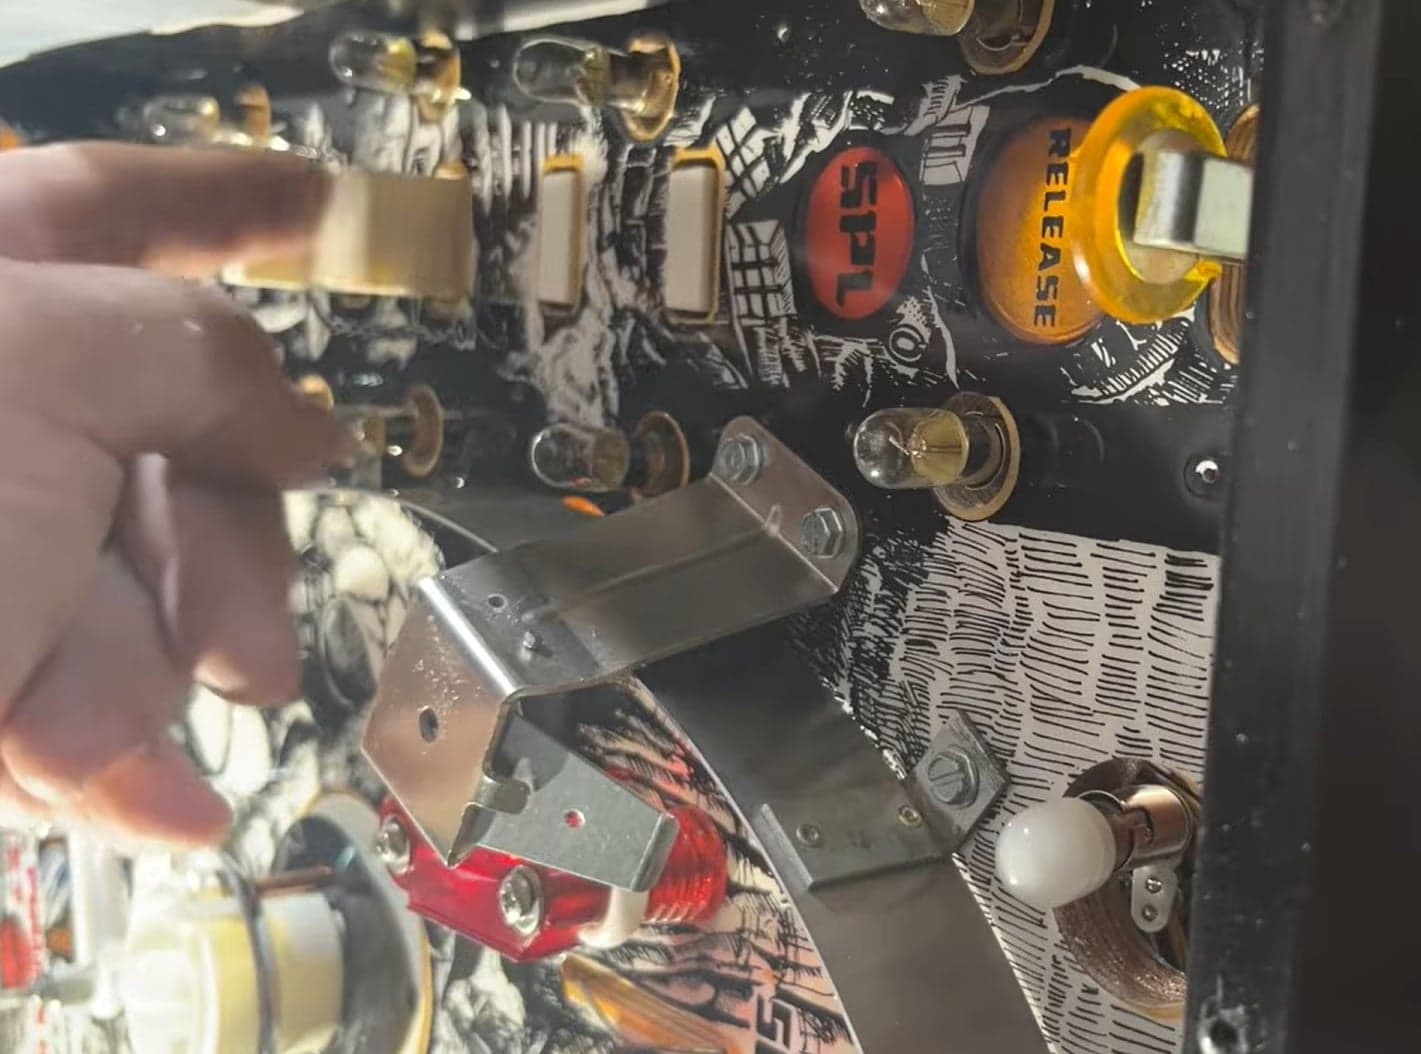
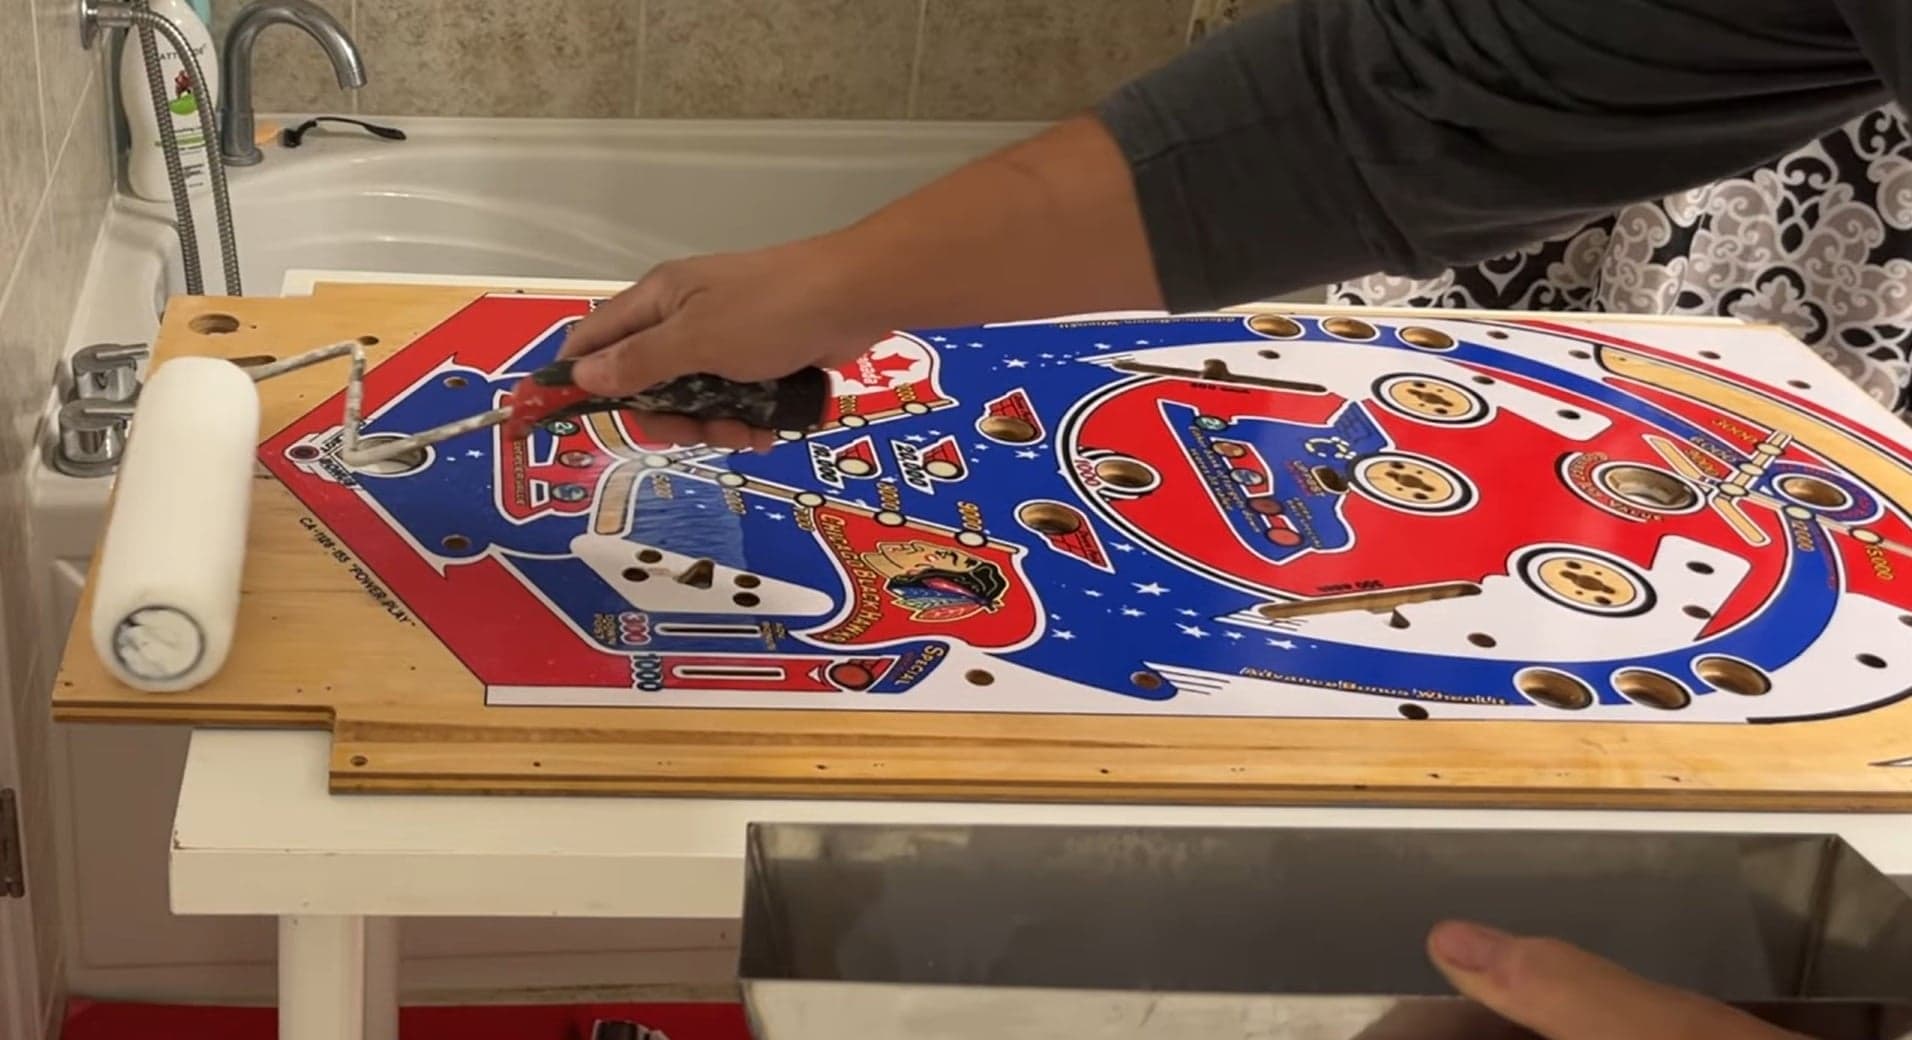
“At the risk of sounding cliché, do your best. If it doesn’t work out, we’re not saving lives,” Sam said. “If you’re happy with your results, awesome. If you’re not, try again.” This is all very evident in Sam’s recent video about attempting to use Varathane to clear-coat a playfield. He went through the entire process of preparing and cleaning a playfield to make this attempt. The results were, well, I won’t spoil the video for you. Let’s just say this picture speaks for itself. Sam put up the video so you (and I) could learn from his mistakes. He had a good attitude and will try again!
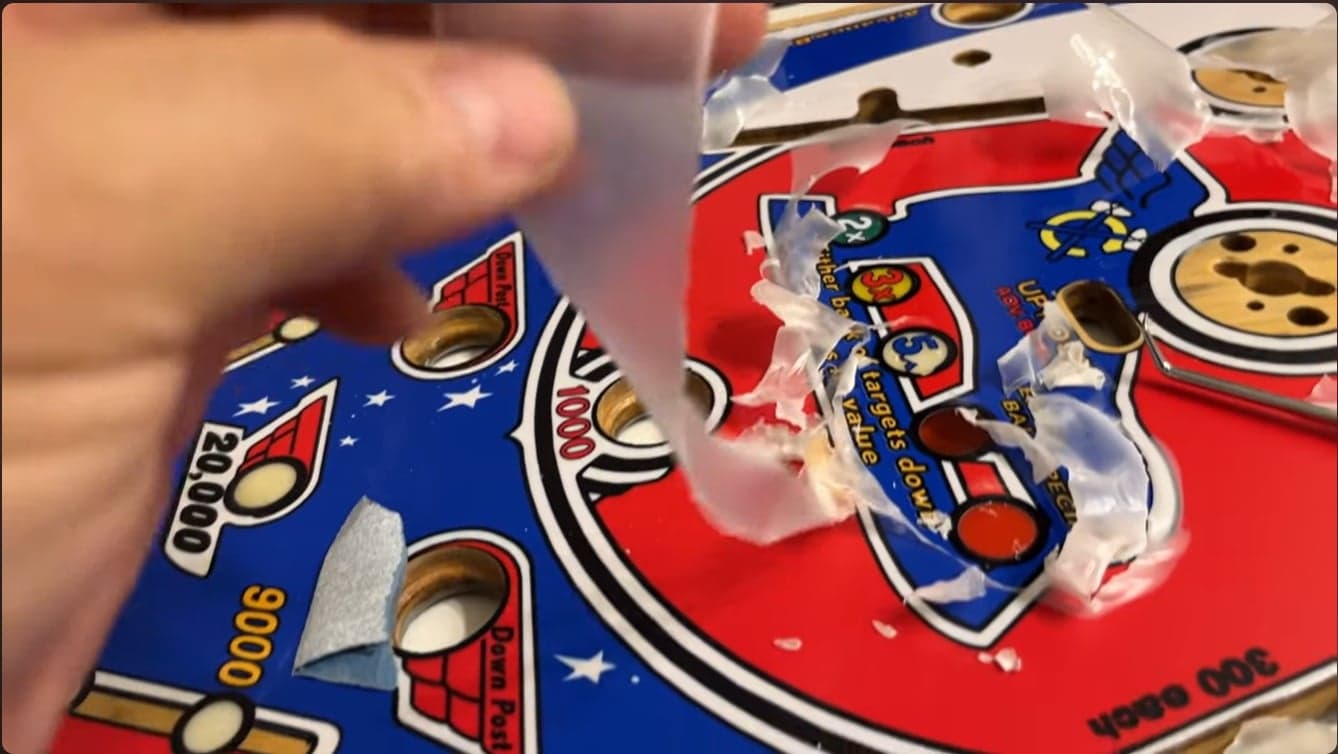
"Life is all about learning from your mistakes," he said. "I sometimes show the mistakes on purpose, so others don't fall into the same trap I did!"
Everyone has to start somewhere, and there will be mistakes along the way. Trial and error are part of the process. You're going to make mistakes, have to redo things, and maybe even ruin something (gasp!). Don't be afraid to jump in and try new stuff. The hobby is so broad that no one can do it all alone. There are more resources out there than ever before to help you along your way.
"I still think I did a pretty good job on my first game, Evel Knievel," Sam said. "I have no idea where that ended up. I think I traded it for a KISS or something. But I was pretty proud of it, and it gave me the confidence to do more daring rebuilds. That one was just a playfield cleanup. I didn't do anything with the body, wiring, or anything like that, but it definitely was a good stepping stone." Good advice. Find a low-cost machine and dive in with both feet!
I Didn’t Say Cheap!
We all know pinball can be an expensive hobby. Even if you’re able to score a project machine for $300, the cost to fix it up can be overwhelming. Boards, displays, playfields, paint, lights, parts, polish, cleaning supplies, bolts, crimpers, on and on, it adds up quickly. Not all of us can afford to throw money at a problem. We have to figure out a creative solution, either by working with what we have or by cobbling something together from spare parts.
You can fall down the rabbit hole of replacing everything on a machine if you’re not careful. But you have to ask yourself, “Self, am I building a pinball machine that’s equivalent to the Ship of Theseus?” Important philosophical questions, I know, but at what point does replacing all the parts coalesce into a brand-new machine?
It’s up to you to figure out where you’ll cross the monetary threshold and finally get the disapproving look from your significant other. “The cost of effectiveness (notice I didn’t say cheap!) came because of the expense of the hobby, especially in Canada,” Sam noted. “They say ‘necessity is the mother of invention,’ so my mission was to have professional results on a shoestring budget.”
The constraint paid him back in unexpected places: “The hobby has actually increased my skill set and helped me with other endeavors. I didn’t know how to use a multimeter or a soldering iron before I started. Now I’m fixing dishwashers and washing machines!”
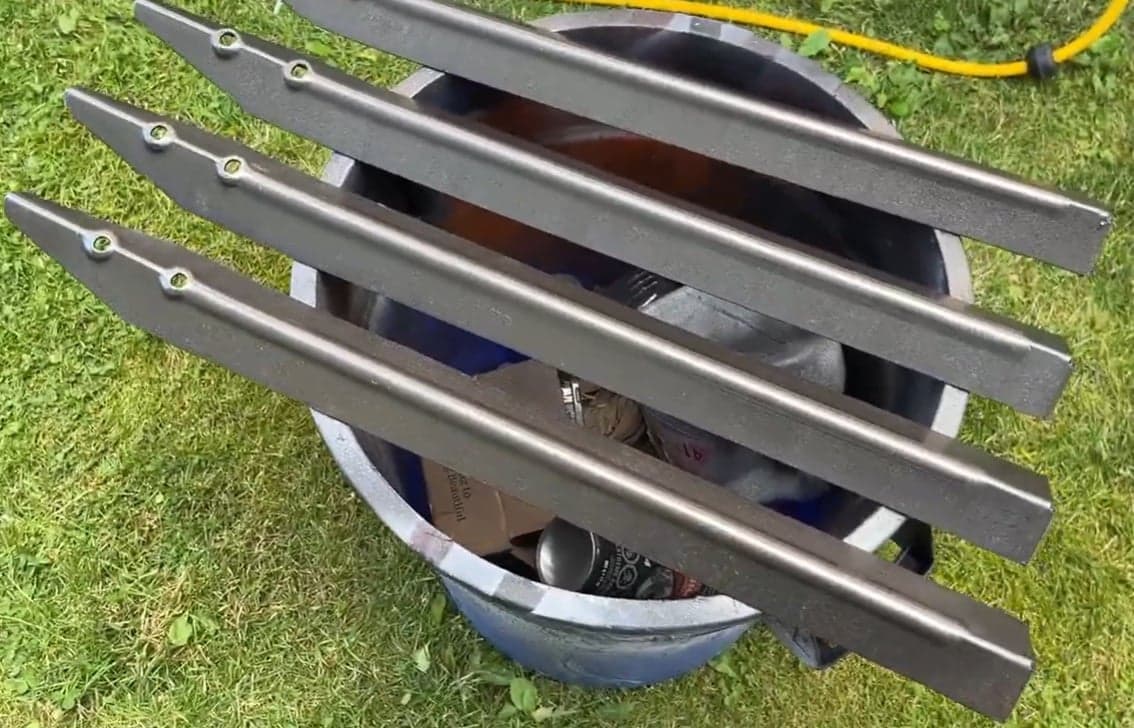
His process for picking up on new techniques isn’t mysterious. “The techniques I come up with come from ideas that get in my head, then researching how others have done it, and then engaging with other enthusiasts and industry professionals like printers, electrical engineers, etc.” A good example of expanding one’s skill set would be one of Sam’s videos on pinball leg refurbishment. Cheap, effective, and looks great!
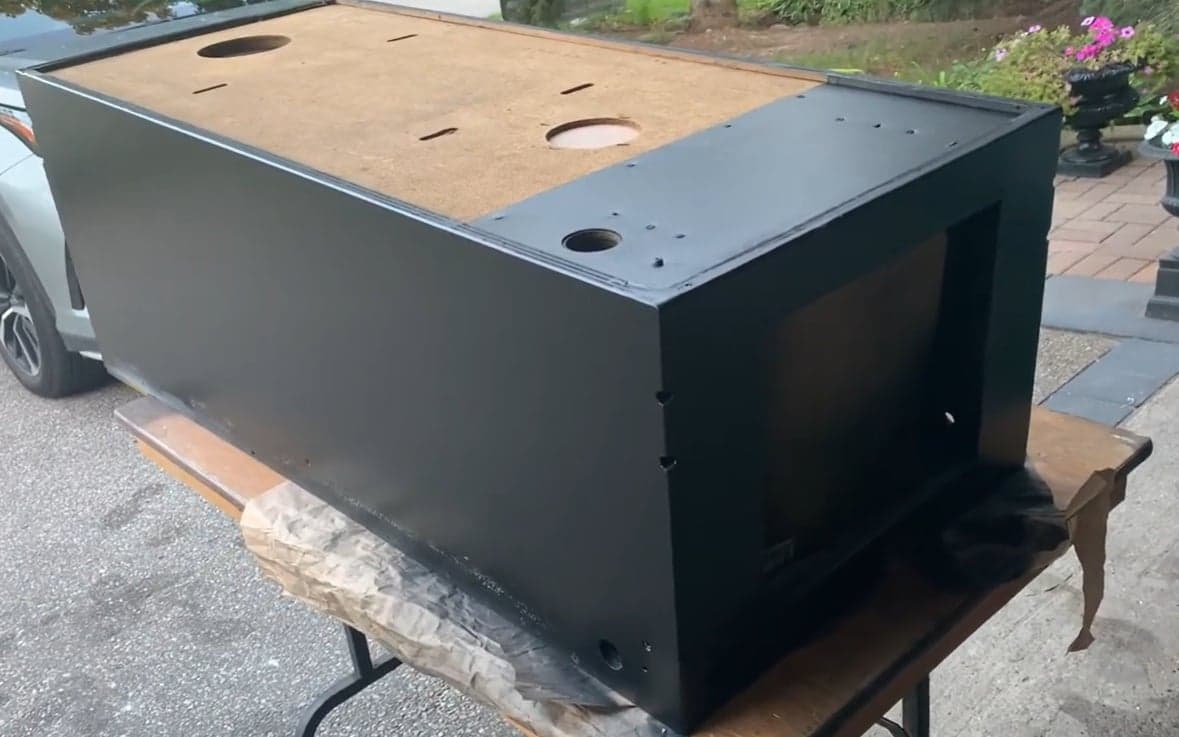
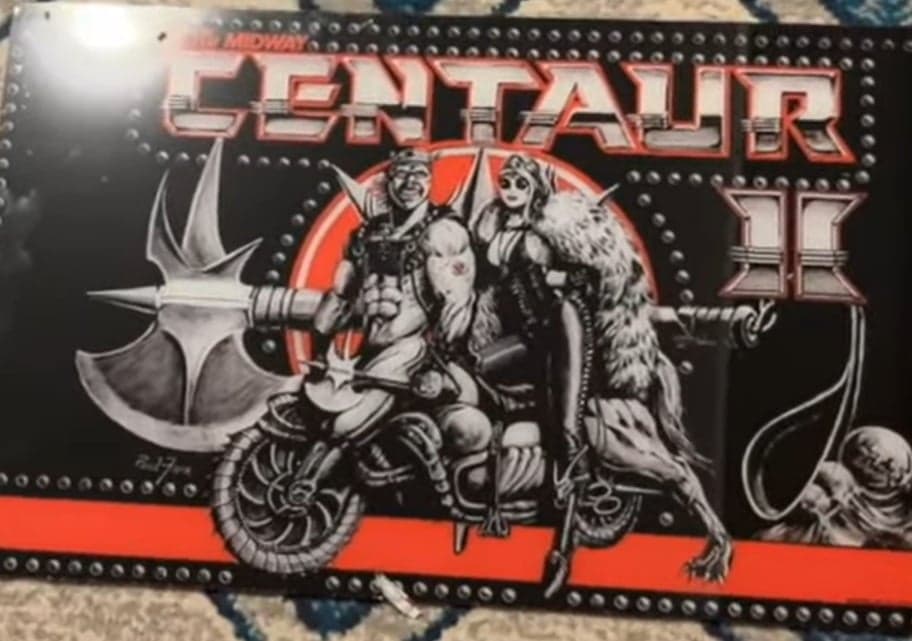
Another advantage of acquiring skills to fix things like this is that you can find good deals on stuff no one else wants and bring it back from the brink. There are some great deals out there on dumpster fires. “As you can tell,” Sam said, “I’m a really big fan of Bally machines. Once you learn the architecture of one brand, it’s just easy to go right across the lineup and work on other games that you find interesting. I bought two basket-case Bally Centaurs, which other people snubbed their noses at. But the challenge and the reward was awesome. I do dabble in other brands, notably Gottlieb Wedgeheads and System 1's and Williams System 8 and 9.”
Rather than posting videos of the entire Centaur restoration process, Sam posted videos of how to do parts of the restoration. For example, one focused on Cabinet Repair and another on Drop Target Repair.
DIY Pinball Wizard
Sam’s default mode is more “how can I do this with what I have” vs. “what can I buy to make this problem go away?” A couple of his projects in particular push that ethos to its limit.
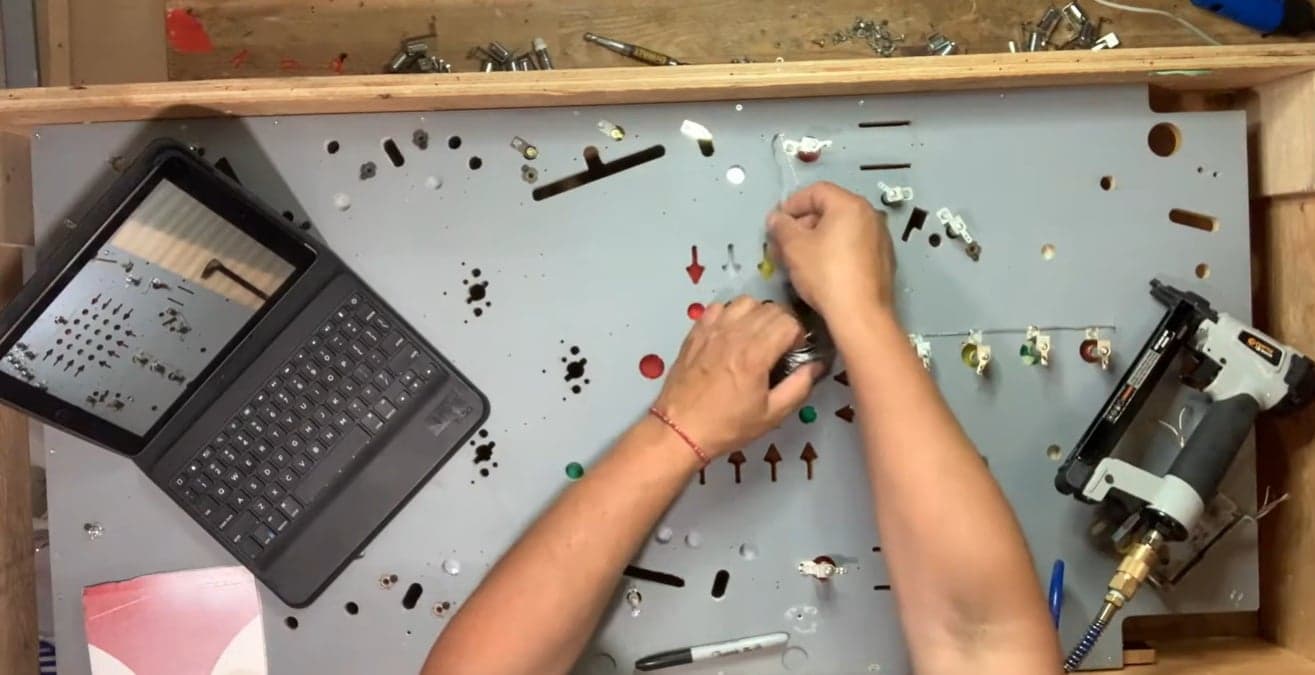
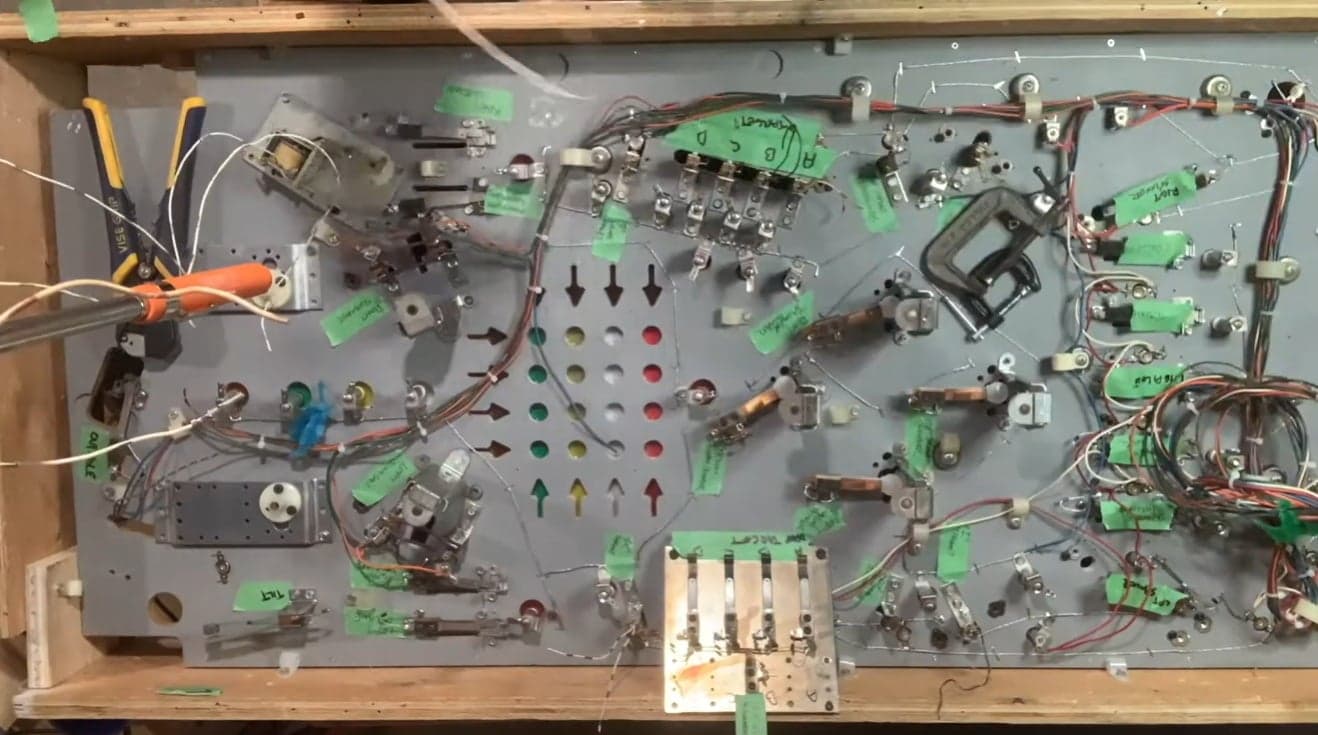
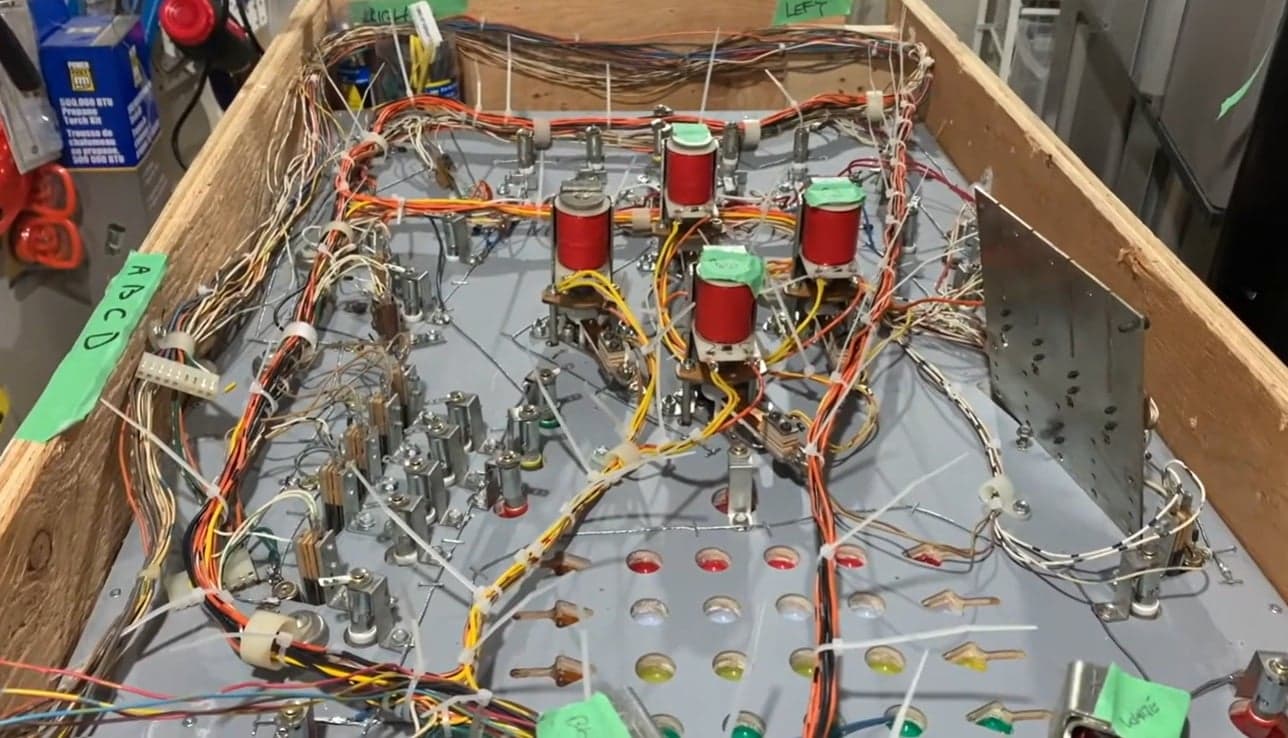
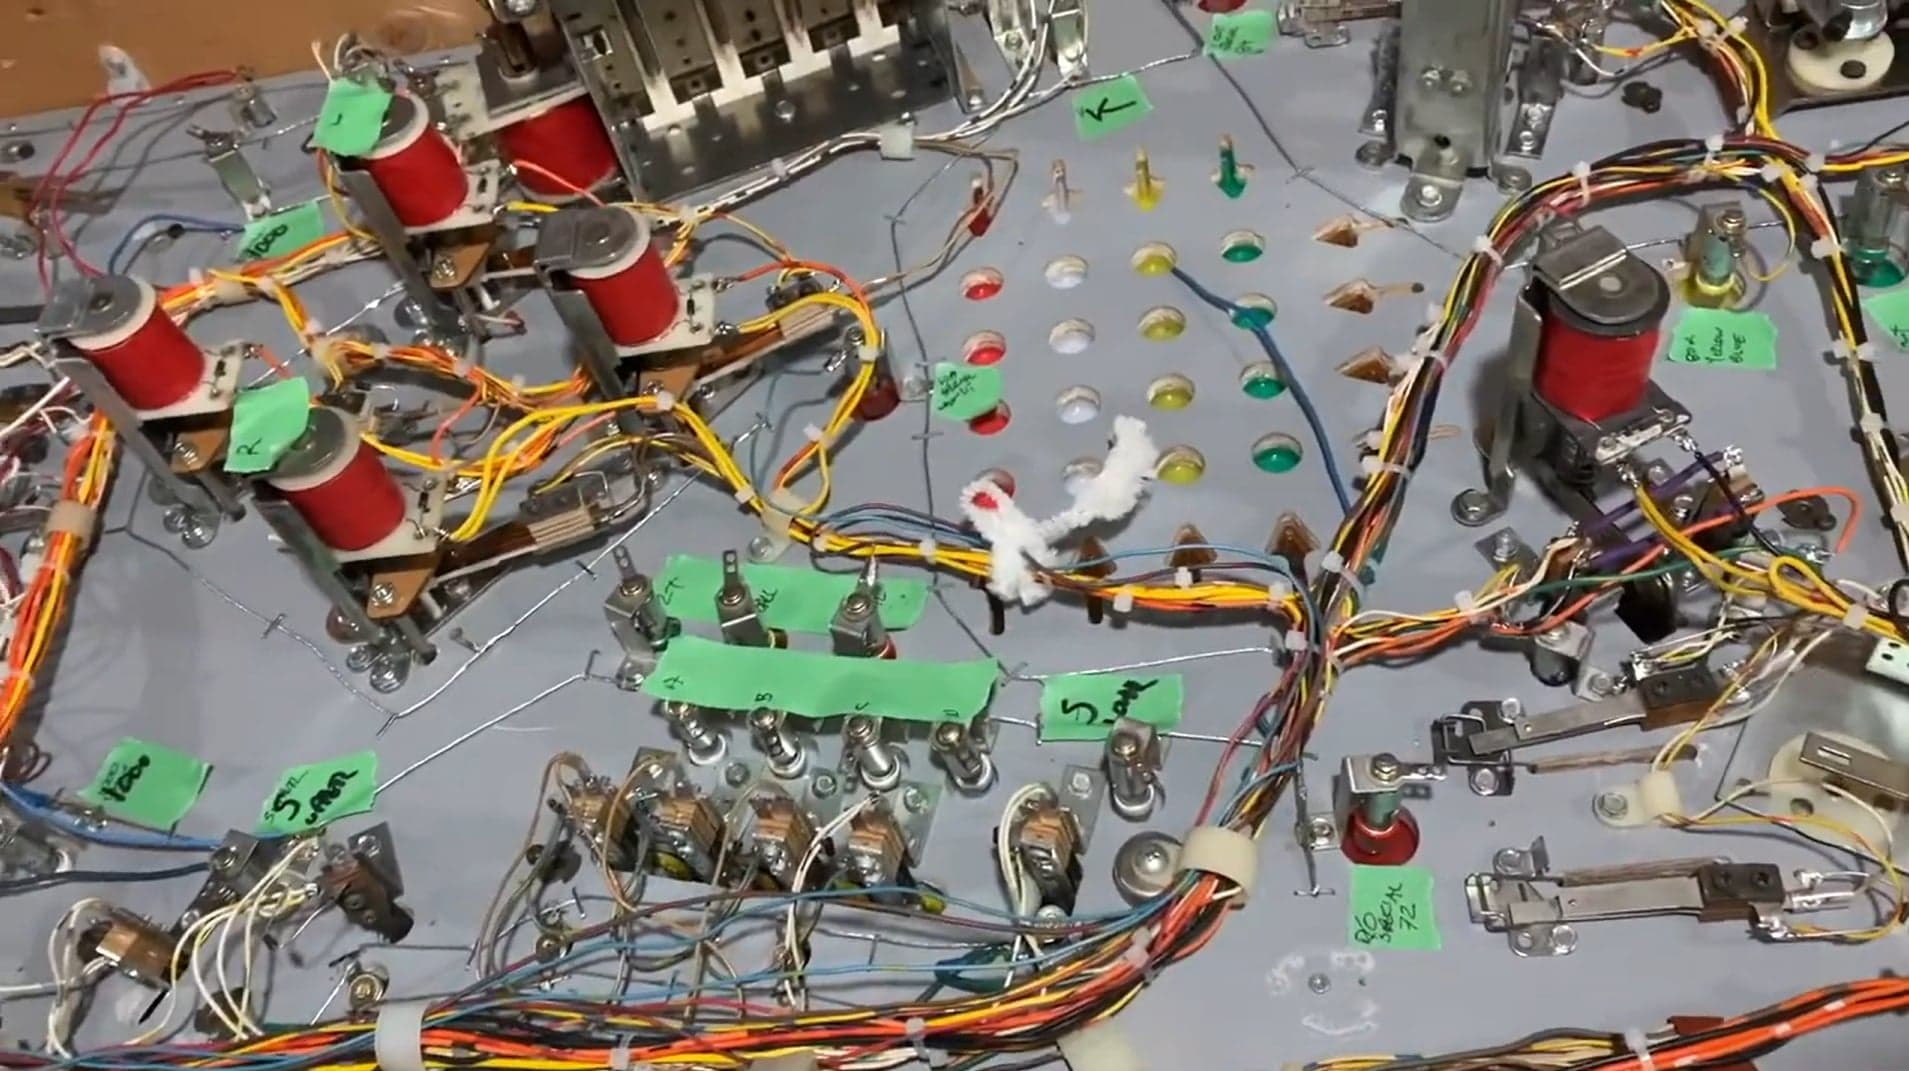
First, he scratch-built a wiring harness for a machine using scrap wire he scavenged from swap meets. Sam will admit that there are probably more efficient ways of doing this, but it’s all part of the learning process. Use what you have and learn from the process. Next time, do it better.
“The wiring harness build was a result of being ‘cost-effective’. Obviously, as time marches on, the availability of parts, especially wiring harnesses, diminishes dramatically. So, again, I tried to learn to be self-sufficient and cost-effective. I figured I would try to build my own harness and, with some luck and a lot of time, I was successful.”
Check out the video series in Part 1, Part 2, Part 3, and Part 4.
There’s always room for improvement. Sometimes people have trouble seeing the forest for the trees… or the trees for the forest. In this harness build, Sam took each “tree” one at a time and built a “forest”. Though, if one looks closely at the schematics for Bally machines of similar vintages, they’re extremely similar. An extra wire here, a small wire extension there, and you can transplant a playfield harness with “minor” surgery. Assuming you have a complete harness to start with, that is. I asked Sam if he had any thoughts about improving his technique. “Yes, on my next attempt, I’m going to use some wiring harness jigs, like I see in automotive applications, and try to adapt that into my process. Yes, I will be shipping out a video when that happens!” I’m interested to see his updated process!
Making a harness is one thing. Reproducing a whole backglass, playfield, or even side art with DIY techniques? Insanity. Sam fell off the deep end and went for it. “The endeavor came as a result of my wanting to develop an overlay for that first Evel Knievel playfield restoration. I bought an overlay at a pinball show that was literally six inches too short, and none of the lights lined up. How would you know that if you're rummaging through a flea market bin? So, I thought, ‘I'm gonna learn how to use Photoshop (which I did) and make this myself (which I also did).’”
Everything after that became a variation on the same dare. “All the other endeavors you see on the channel are just challenges to myself to see if I can come up with professional results on a shoestring budget. Especially when a lot of these parts are unobtainable.”
Reference material is its own discipline. “I typically take pictures of backglasses, plastics, playfields, and side art at conventions to catalog in case I ever need them.”
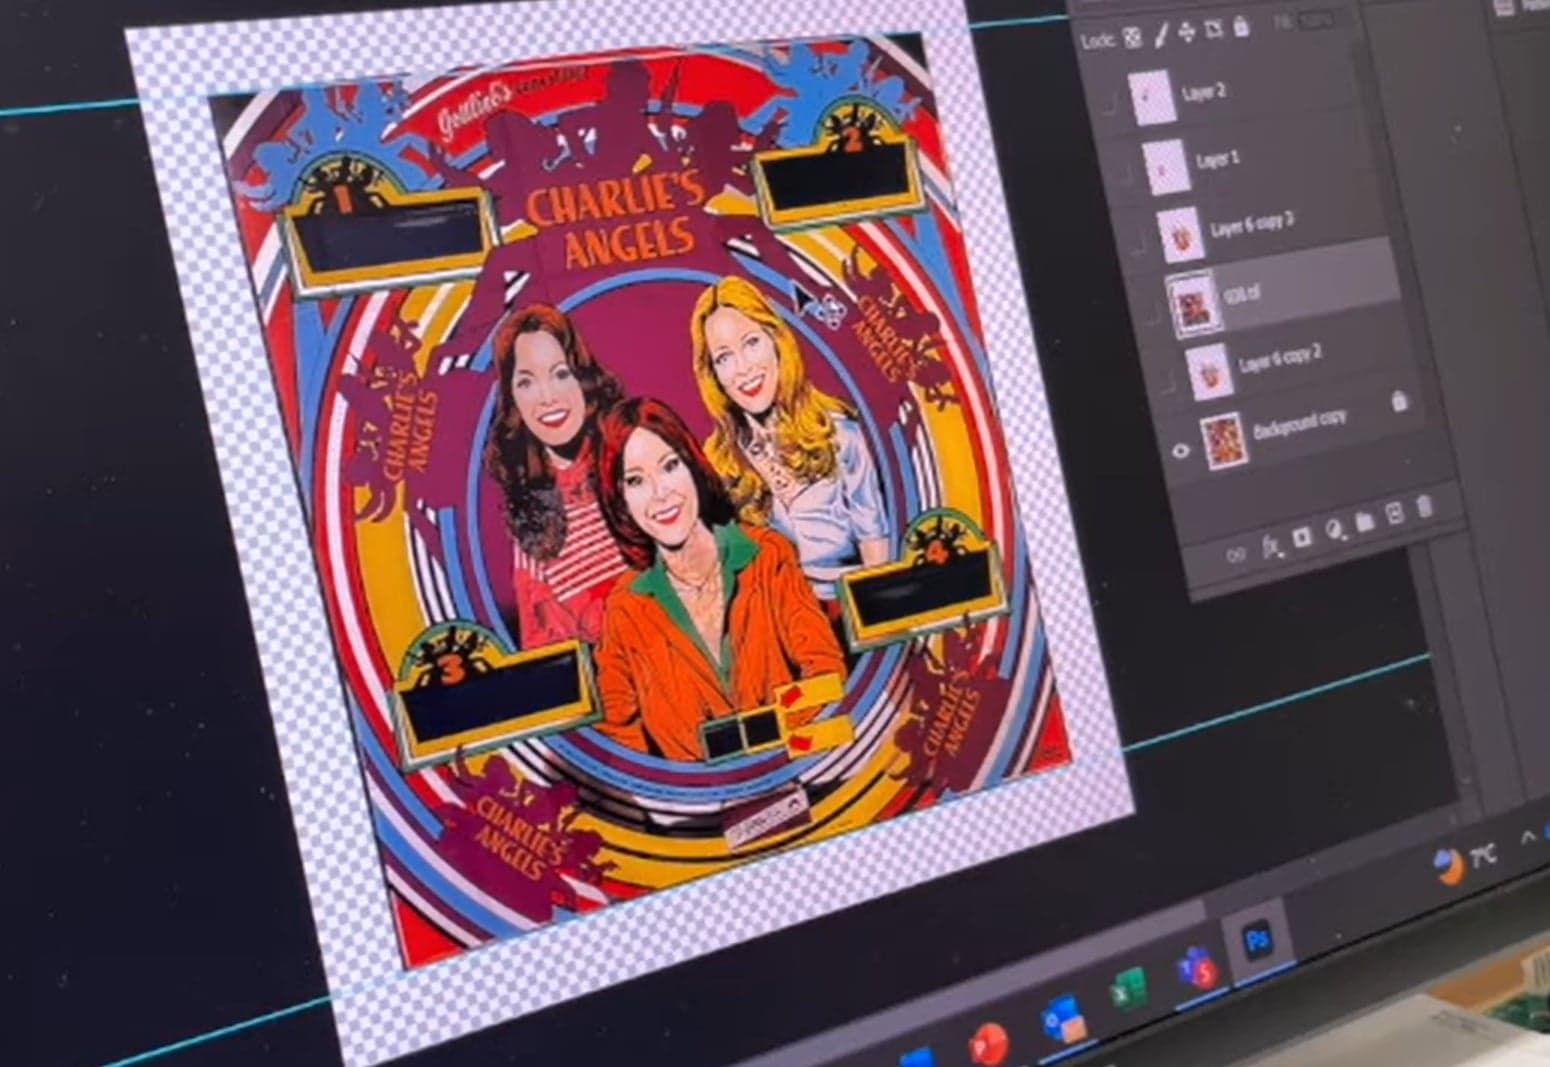
Sam walks through the process by which he made his Charlie’s Angels Backglass in This Video. He used Photoshop, pieced together the layers, and eventually made a professional-looking replica. Mind-blowing.
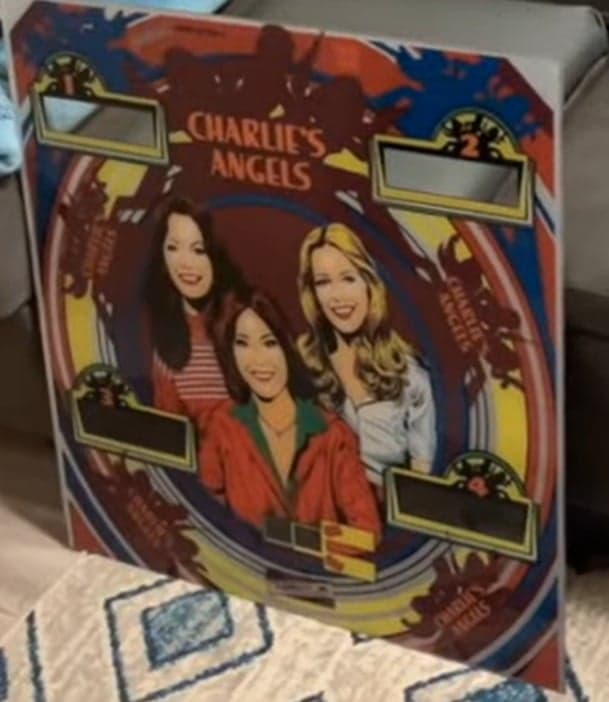
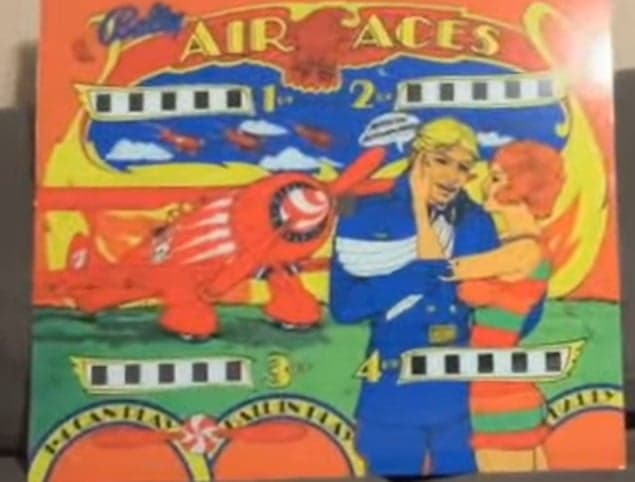
He’s applied the same process elsewhere – backglasses for Bally Air Aces, and a second take on Centaur.
DADDY, NOBODY CARES! (Sam’s YouTube Journey)
“What inspired me to make videos to begin with was my two daughters,” Sam said. “When they were young, I tried to tell them how cool I was with every game I repaired or made look better. They were really young and my best critics. When I would show them what I managed to accomplish, they would say, ‘Daddy, nobody cares!’ So, I thought, ‘Oh yeah? I’m gonna start a YouTube channel, and I’m gonna get a bunch of followers!’”
The dare didn’t stay one-sided for long. “The challenge was on, and as the channel grew, they grew with it and had fun with me.”
These days, the pace has shifted. “Now, after a few years, I’m admittedly not as active as I once was because I try to come up with fresh ideas that I think are interesting and hope the audience does, too. I relish feedback from people on what they think might be a good video and see if I can accommodate with my crazy schedule. I still have a lot of Ketchup in the bottle, though, and I will continue to post for the foreseeable future.”
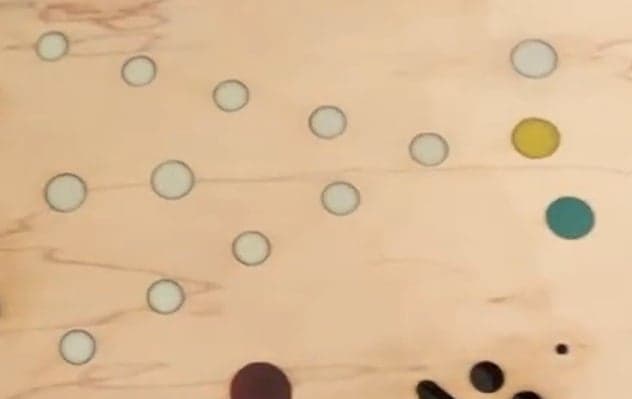
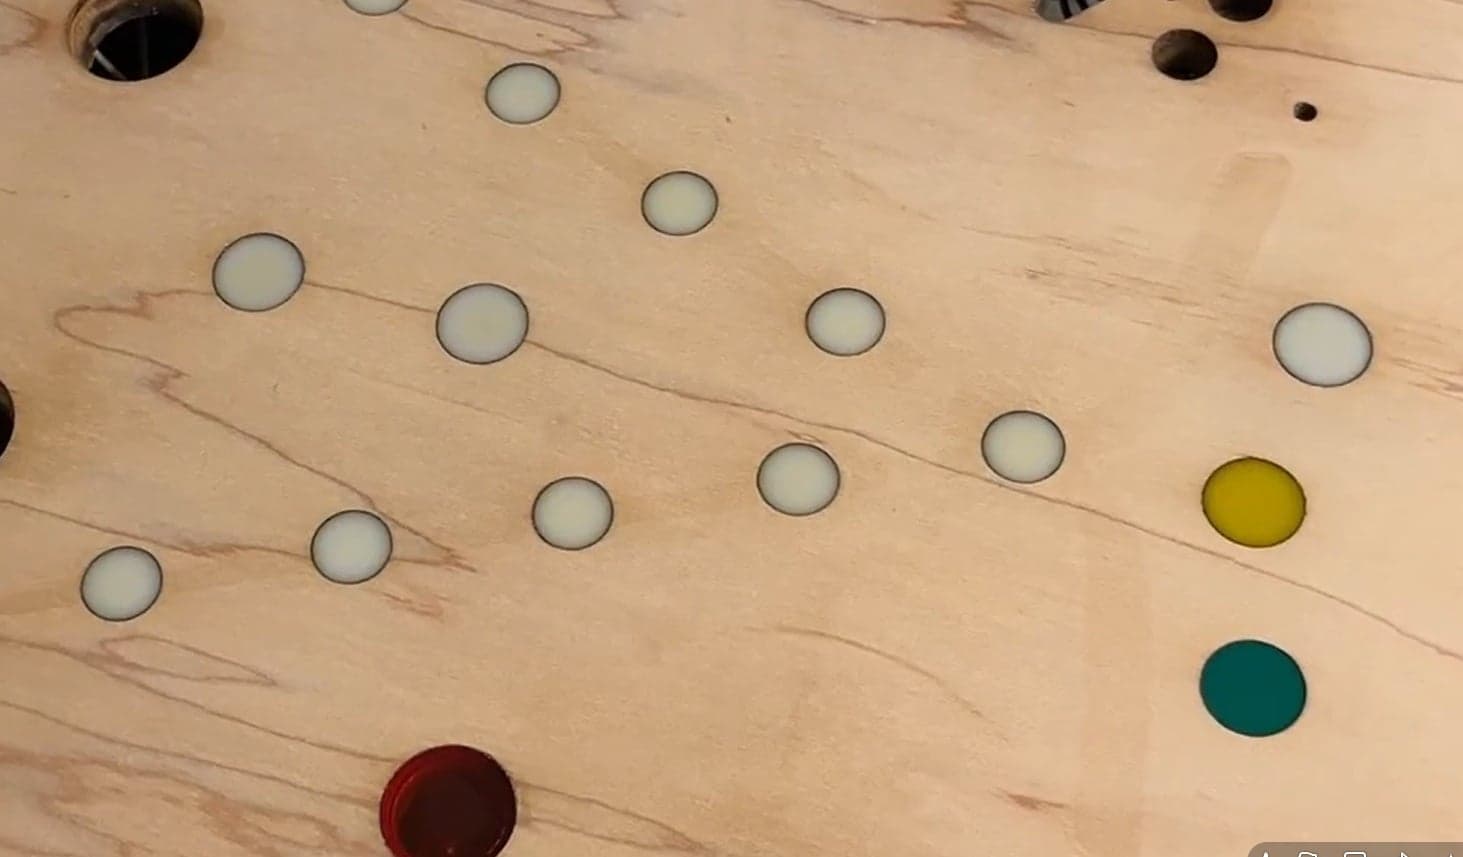
Sam’s latest inspiration (as of writing this) was his easy, DIY video on Insert Shining. Pretty easy technique to clean inserts, smooth scratches, and shine them up before further work begins.
“I purposely tell the audience my email address on almost every video so I can interact with people and share ideas,” Sam reflected. “You would be surprised how many emails I get on how people have improved upon something I showed them, or who teach me their technique. I have connections all over the world now. It’s crazy how this is such an international hobby.”
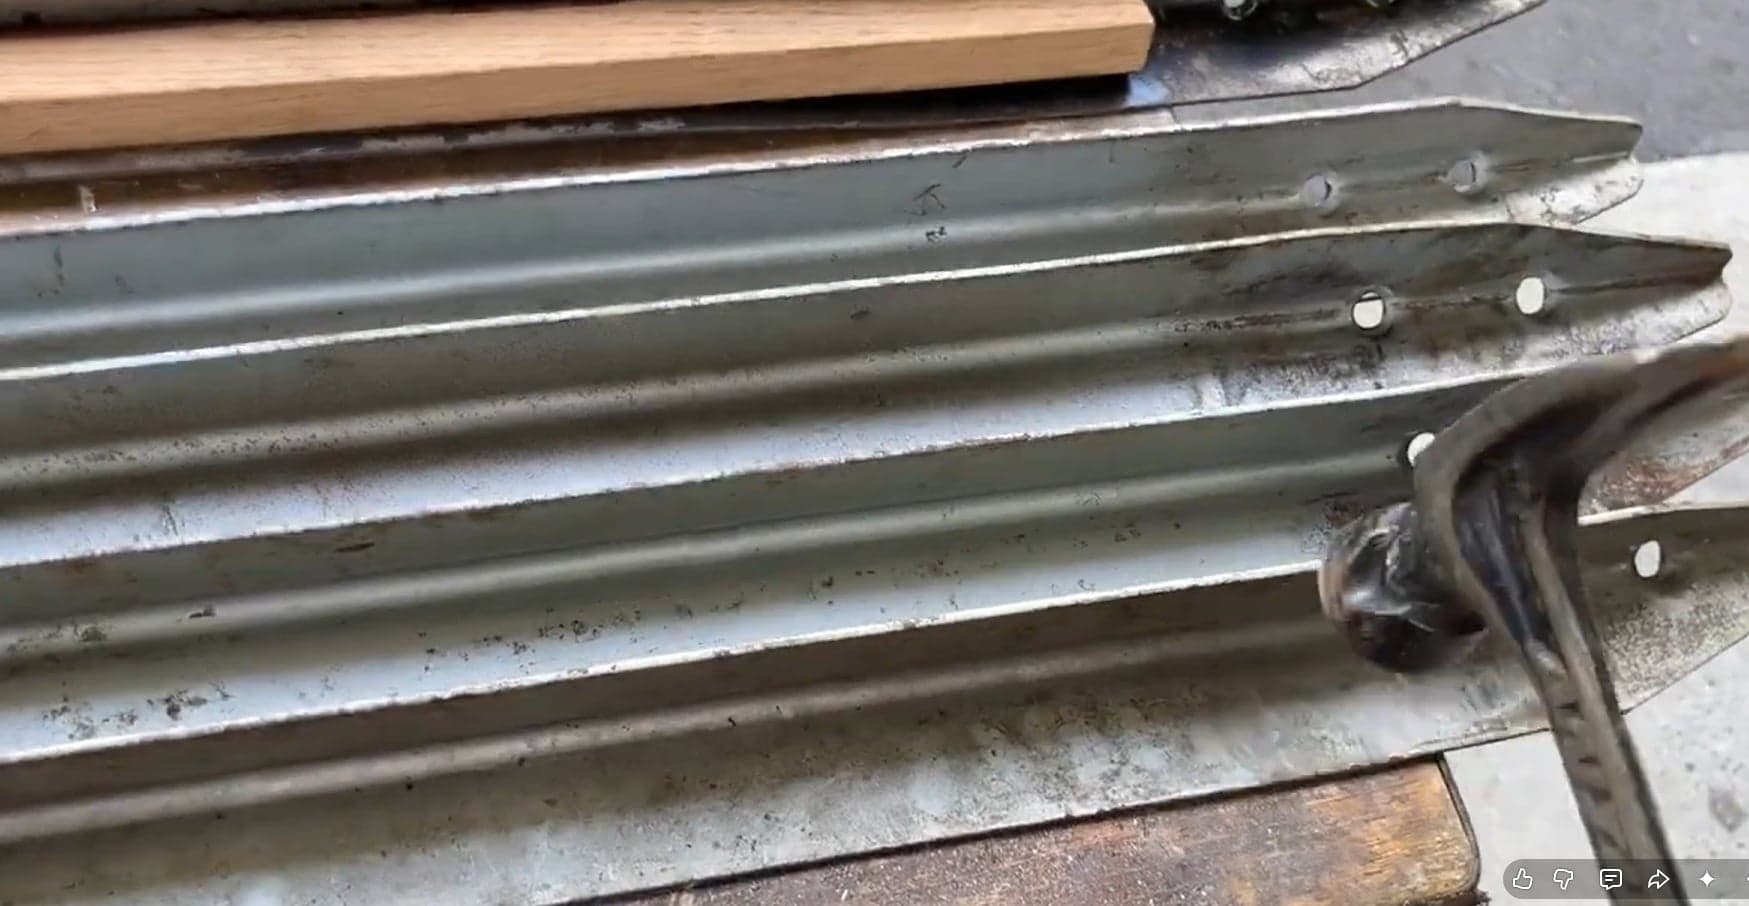
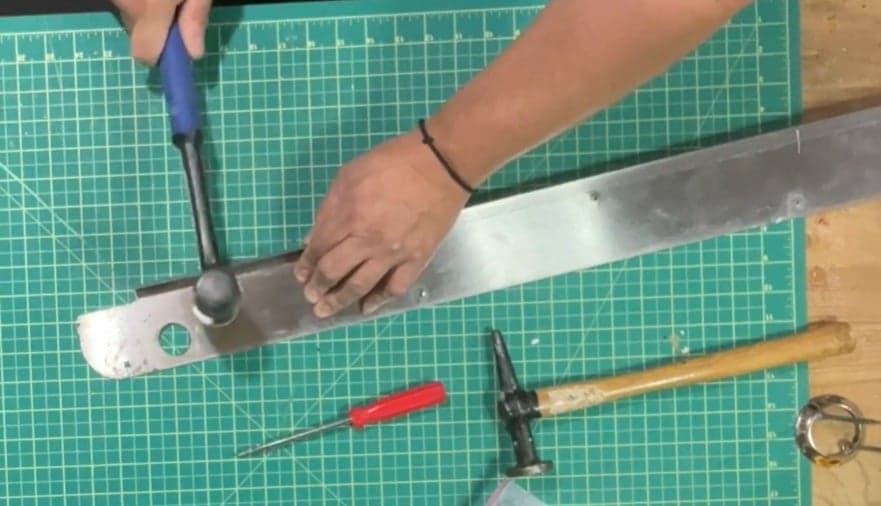
His video on Refurbishing Side Rails is a good example of why people email. He used tools he already had lying around to fix some that he had available and make them look almost new. His methods are extremely helpful and travel well to additional metal parts (coin door, lockdown bar, etc.). I borrowed them for my own Mata Hari and Dolly Parton restorations.
So, what’s next for his channel? “I have a couple of complete ground-up restorations that I will showcase on the channel,” Sam said. “I’m currently working on a Bally Bobby Orr Power Play. My next mission is to figure out how I can be self-sufficient in being able to print my own playfields, backglasses, and plastics without relying on others to do it for me. If anyone has suggestions, please contact me at rushfan@live.ca... See what I did there?” Here’s his failed attempt at clear-coating a Bobby Orr playfield during the restoration process.
As you get started on your restoration journey or stumble down the bumpy road, what advice would Sam offer? “What I find people doing wrong consistently,” he said, “not only in the hobby but life in general, is asking complicated questions through text or email! I cannot begin to tell you how many times somebody asks me a question, and I will give them my phone number and speak with them. You can answer a lot more questions with an old-school phone call than you ever will with a text or an email. So, food for thought on that one.”
Comments