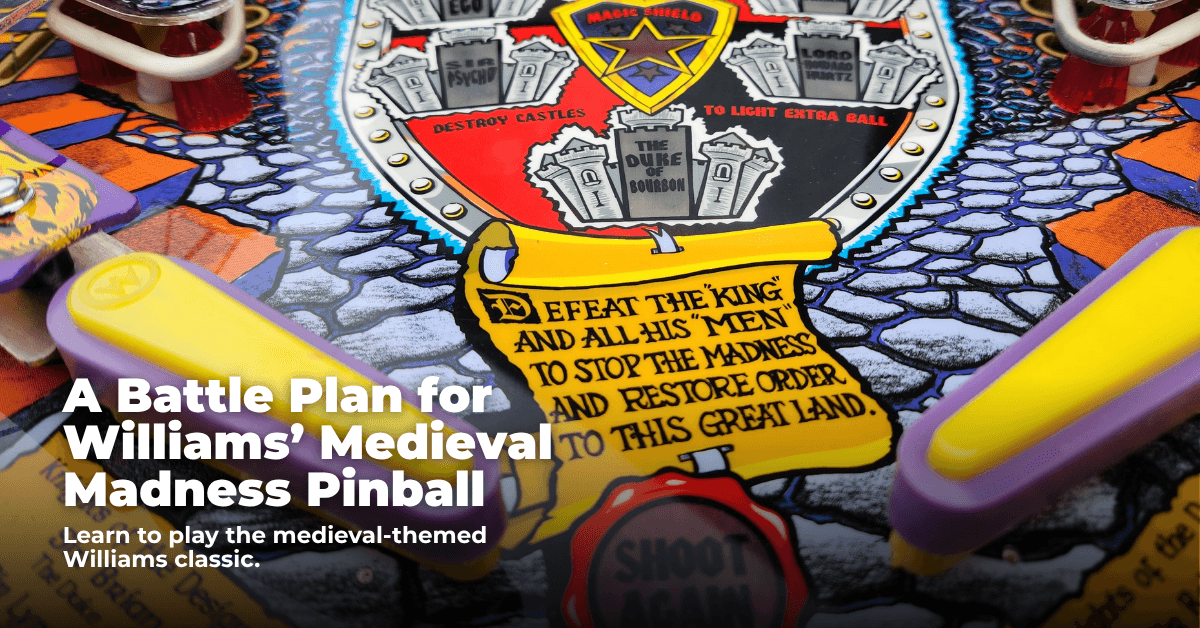
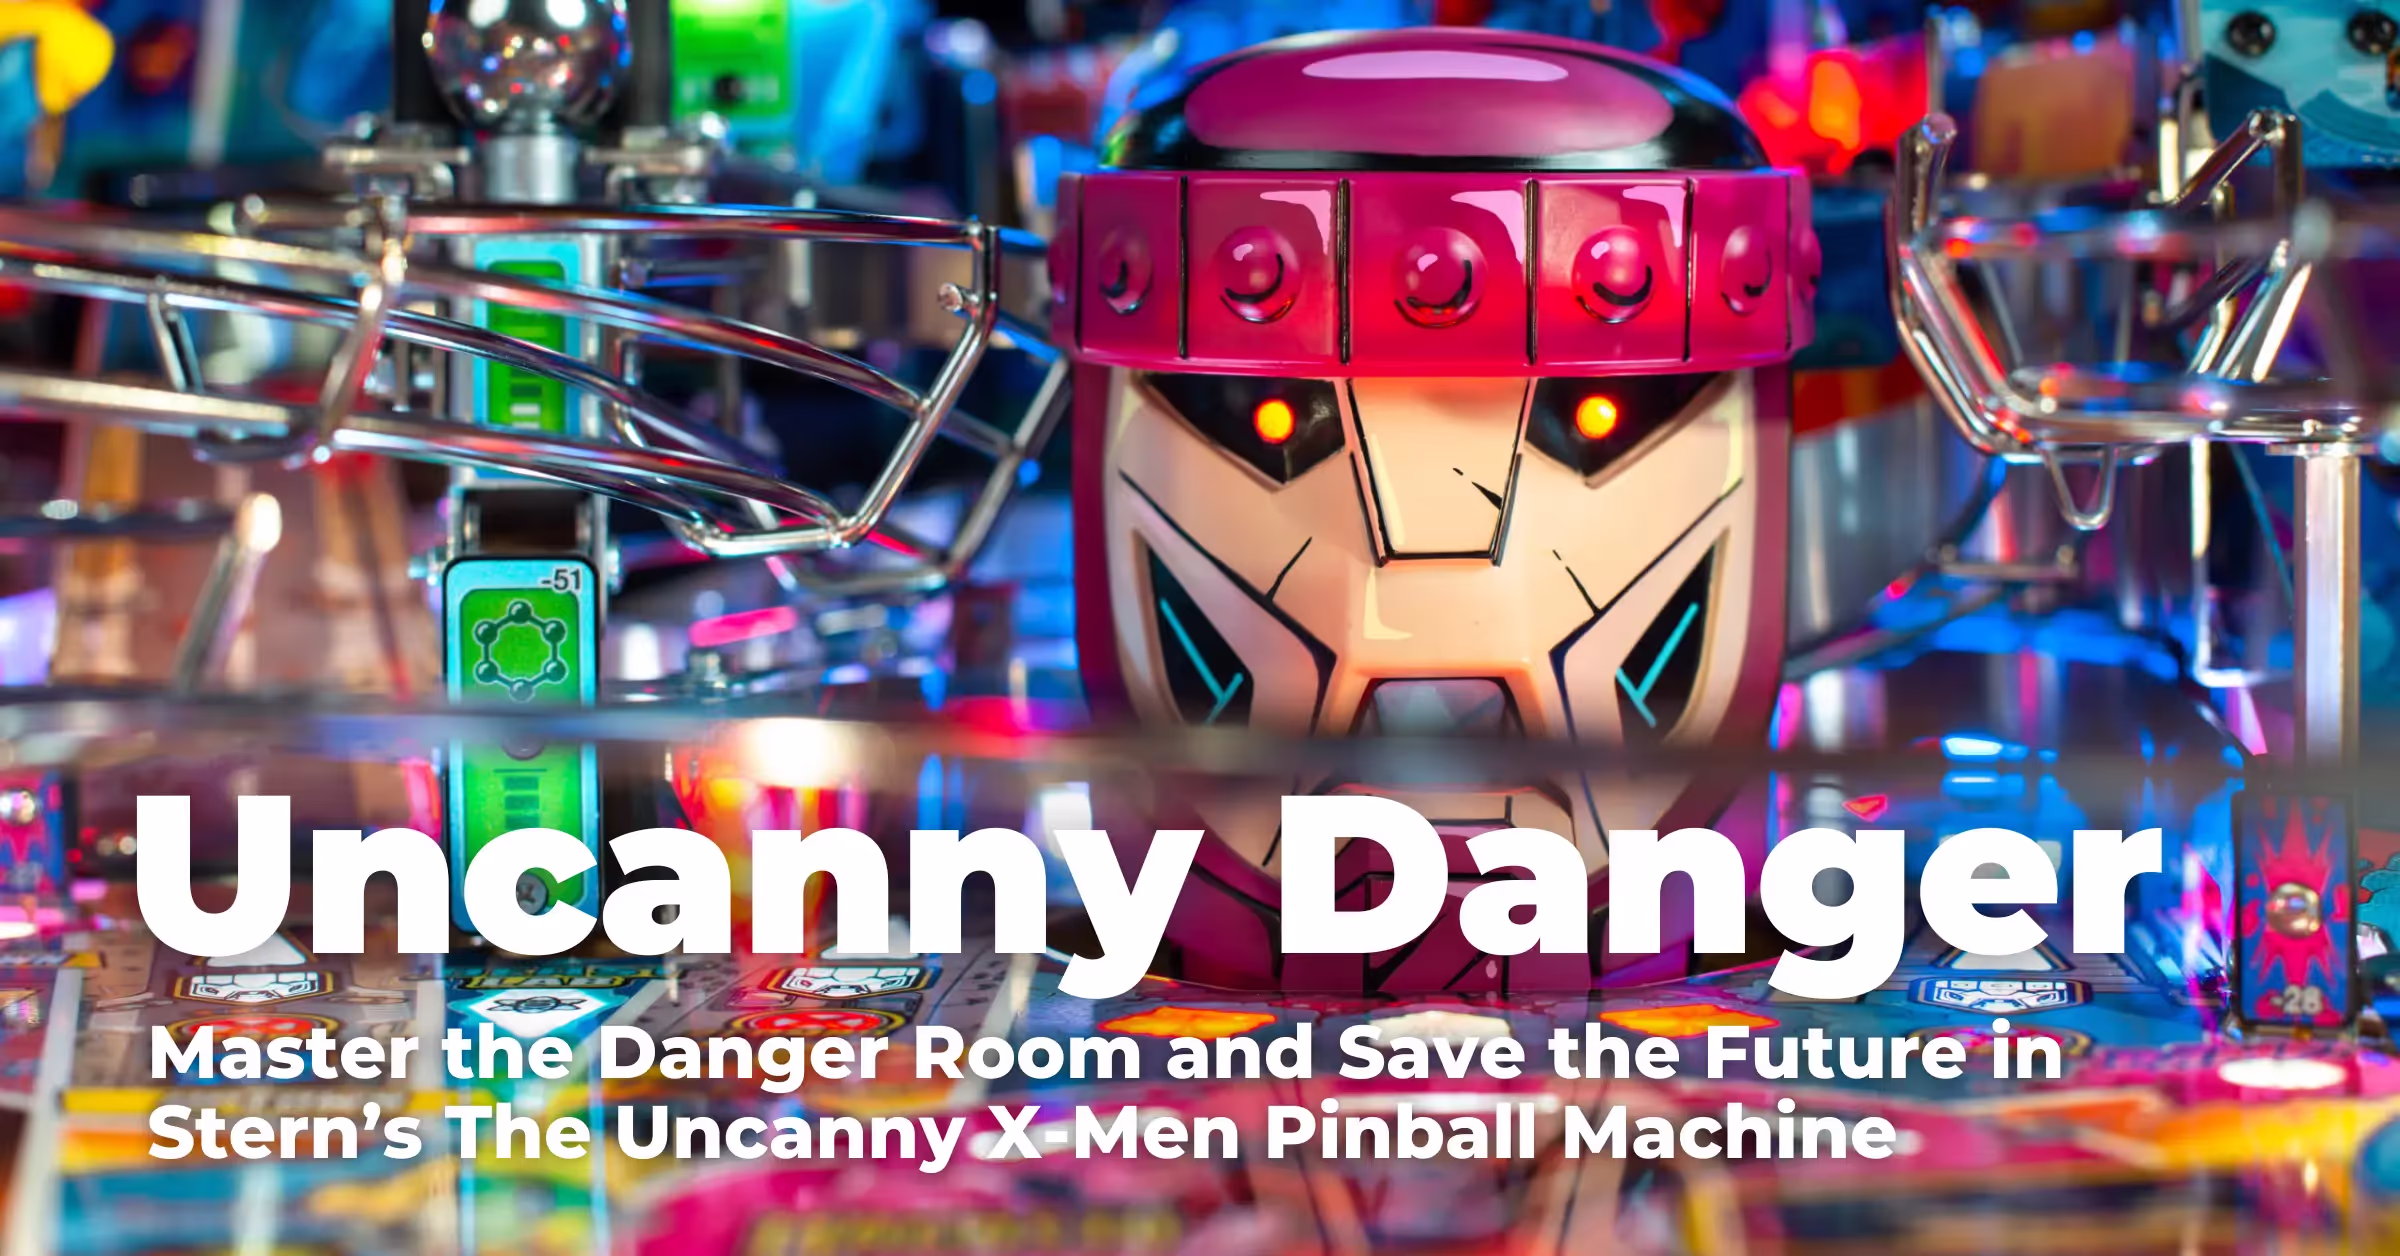
Uncanny Danger: Master the Danger Room and Save the Future in Stern’s The Uncanny X-Men Pinball Machine
Stern Pinball’s latest Marvel-themed pinball machine might be their most ambitious one yet. Jack Danger wowed me with his Foo Fighters pinball machine in 2023, which took a simple band theme and turned it into a full-blown homage to 80s Saturday morning cartoons with a layout that was just as crazy. Also in 2023 came Venom, a Brian Eddy-designed machine with a more basic layout but including video game-inspired rules that encouraged the player to save their progress. The Uncanny X-Men is a machine that combines the best aspects of both of those two!
The layout of The Uncanny X-Men is unlike many pinball machines that came before it, including a small area on the lower left of the playfield called the Danger Room that gives the table a steeper learning curve than its contemporaries, and a large variety of ramps and orbits that wind throughout the entire playfield. Though this machine might be a struggle to learn at first, thanks to its unusual layout, I hope to make the process a little easier to understand by explaining how I approach making shots on this wild machine.
About The Uncanny X-Men
Based on the Uncanny X-Men comic series, specifically the “Days of Future Past” and “Mind Out of Time” comic arcs. Learn more about The Uncanny X-Men on the Kineticist game page.
- Manufacturer: Stern Pinball
- Year: 2024
- Design: Jack Danger
- Code: Waison Cheng, Mike Vinikour
- Art: Jeremy Packer (Zombie Yeti)
- Animation: Chuck Ernst
- Music: Charlie Benante
- Sound: Jerry Thompson
The Uncanny X-Men Playfield Overview

The best way to approach this pinball machines' playfield design would be to discuss the shots with arrows on them first. The farthest left shot on the playfield is the X-Jet orbit, which sends balls to the danger room with strong enough shots. Further right of that orbit is the downtown ramp, a unique combination of an orbit and a backwards-facing ramp that can be hit late off the right flipper and feeds the same flipper for repeated shots at the ramp. The uptown ramp is a more straightforward ramp that passes above the orbit entrance to downtown and can be hit from the right flipper.
The main gimmick of the machine is a giant Sentinel head positioned between the midtown and subway ramps. The midtown ramp is most reliably hit from the right flipper and sends balls back to that flipper for repeated shots, while the subway ramp enters the same ramp exit as the plunger but can only be hit from the left flipper. The Sentinel head has a magnet in front of it that can fling balls out of control when the giant Sentinel spawns, and its mouth can lower to reveal a kickback that deals significant Sentinel damage but also fires the ball back to the flippers quickly.
The last major shot on the playfield is the highway ramp. This steep ramp can only be hit with strong left flipper shots and typically feeds the ball to the right flipper, though if Cerebro is available it will instead divert to the left flipper. Cerebro itself is located directly above the apex of the left flipper, and acts as a post that holds balls there when the player advances towards starting To Me, My X-Men multiball.
Scattered throughout the playfield are several gray “BAMF!” targets for Nightcrawler, which qualify Cerebro when hit enough times, and right of the uptown ramp is Beast’s lab, which takes the form of a leaper target like the Icarus on Led Zeppelin on Pro models, or an elevated captive ball on Prem / LE models. There is also a hidden “sneak-in” lane below the entrance to the downtown ramp, which cannot be hit reliably but scores a bonus built up by the Kitty Pryde target nearby when hit and spots shots during missions. Lastly are two bumpers for Bishop and Gambit, the former replacing the typical left slingshot and the latter below the X-Mansion target used to light ball save.

This wouldn’t be a complete playfield overview without discussing the Danger Room! This secluded area to the lower left of the playfield includes a mini-flipper, three targets (including one directly below the flipper that holds bonus when lit), a spinner, and a small ramp that feeds Cerebro. It can be fed with strong shots to the X-Jet orbit or lucky bounces that head past Bishop’s bumper. Mastery of the Danger Room is important to success on The Uncanny X-Men as completing the required shots down there increases mode and multiball scoring for the rest of the game, and draining due to missed Danger Room shots can be tragic.
Scoring on The Uncanny X-Men is lower than average for its era, roughly comparable to scoring on John Wick. 50M would be considered a great starting point, but the best players can expect to exceed 300M.
Getting Started with The Uncanny X-Men
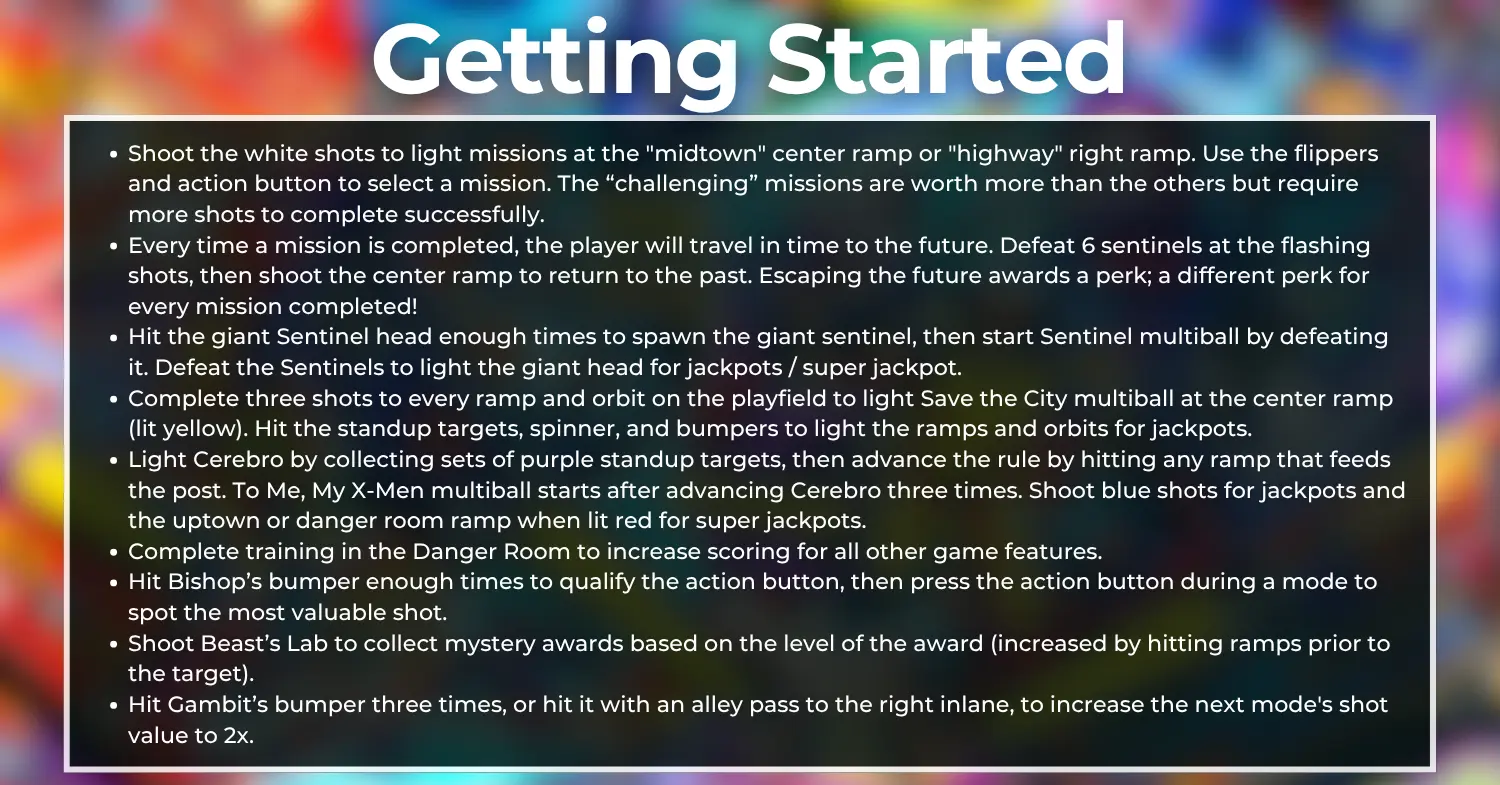
- Shoot the white shots to light missions at the "midtown" center ramp or "highway" right ramp. Use the flippers and action button to select a mission. The “challenging” missions are worth more than the others but require more shots to complete successfully.
- Every time a mission is completed, the player will travel in time to the future. Defeat 6 sentinels at the flashing shots, then shoot the center ramp to return to the past. Escaping the future awards a perk; a different perk for every mission completed! Try playing sentinel facility raid first if you're new to the game.
- There are four multiballs to play, the first three of which can be brought into missions:
- Hit the giant Sentinel head enough times to spawn the giant sentinel, then start Sentinel multiball by defeating it. Shoot the lit jackpots to light the giant head for super jackpot, and increase the jackpot value by hitting the danger room exit ramp.
- Complete three shots to every ramp and orbit on the playfield to light Save the City multiball at the center ramp (lit yellow). Hit the standup targets, spinner, and bumpers to light the ramps and orbits for jackpots. Once all jackpots are hit, shoot the X-Jet shot to light the spinner for 1M a spin for 10 seconds.
- Light Cerebro by collecting sets of purple standup targets, then advance the rule by hitting any ramp that feeds the post. To Me, My X-Men multiball starts after advancing Cerebro three times. Shoot blue shots for jackpots and the uptown or danger room ramp when lit red for super jackpots.
- Berzerker multiball starts at the left ramp after defeating 35 sentinels (during sentinel facility raid, sentinel multiball, or the future). Shoot the yellow shots to score jackpots, the lit X-jet shot for super jackpot, and the danger room exit ramp for 2x super jackpot.
- Complete training in the Danger Room to increase scoring for all other game features. The first level doubles mission scores, and the second & third levels make future easier to complete & more valuable. During missions, danger room adds to end-of-ball bonus.
- Complete combos to light sentinel attacks. Every time a sentinel is destroyed, the values for the next ones increase.
- Hit Bishop’s bumper enough times to qualify the action button, then press the action button during a mode to spot the most valuable shot.
- Shoot Beast’s Lab to collect mystery awards based on the level of the award (increased by hitting combos prior to the target).
- Hit Gambit’s bumper three times, or hit it with an alley pass to the right inlane, to increase the next mode's shot value to 2x.
- Try nudging the ball off of missed shots to the center ramp or subway ramp to make sure the ball avoids bouncing between the slingshots and pop bumpers at all costs.
Skill Shots

There are four skill shots available at the start of each ball:
- Plunge softly and land the ball on the switch near the right ramp. Awards +1 bonus X.
- Hit the X-Jet orbit for +3 bonus X. A super skill shot can be earned if the orbit shot was strong enough to feed the ramp and enter the Danger Room, and the player then hits the exit ramp.
- Hit the downtown ramp to complete time loops. Loop the ramp up to five times for increased awards with every shot. The final shot is at the left ramp.
- Hit the uptown ramp to safely feed the left flipper and advance Cerebro towards starting To Me, My X-Men multiball.
While the X-Jet and time loop skill shots are the most fun to pull off, in competitive settings, your best bet will be either the plunger skill shots or the uptown ramp skill shot to advance towards To Me, My X-Men, allow you to set up for missions, and get in some early Sentinel hits before the ball save expires.
Missions

Missions are started by first hitting the white shots enough times (up to four), then hitting any blue strobing shot (either the center or right ramp). Once the last shot is hit, the ball will be held either at the right inlane post or at Cerebro, and the player will be prompted to select a mission using the flippers and action button. The missions at the corners of the monitor are more challenging than the ones in between them but score more if completed. If the player completed at least one level of Danger Room training, scoring in the next mission played will be doubled.
The four “standard” missions, listed clockwise, are:
- Rescue the Innocent: Hit 7 red shots lit as combos to rescue the innocent citizens. Bishop pop bumper increases the multiplier for each shot up to 5x. Future perk: easier to qualify action button uses.
- Bitter Rivalry: Hit 4 yellow shots to defeat Sabretooth, with blue shots scoring bonus awards. Future perk: single-ball ball save timers increased.
- Smuggled Cargo: Max. of 4 red shots, then 2 blue shots to recover the cargo. Hit the purple shots to score 2x and double progress. Future perk: Gambit shot multiplier bumped to 3x.
- Stopping a Juggernaut: Make 5 red shots to defeat the Juggernaut; they alternate between ramps and then targets / X-Jet. Future perk: danger room affects future scoring and gives a ball save when entered (once per ball).
And the four “challenging” missions, listed in the same order, are:
- Sentinel Facility Raid: Shots move from left to right, then repeat. Hitting the Sentinel head pauses the moving shots until the next lit one is made. 7 lit shots to complete, with each shot destroying 1 sentinel. Future perk: qualifies an add-a-ball that can be used once per ball during multiball, by holding the action button for a few seconds.
- Fiery Assault: Shoot the red shots to extinguish Pyro’s flames and the blue shots to damage him. Deal damage to Pyro 3 times to complete. Future perk: makes lighting the Sentinel Multiball jackpot easier and extends the multiball the next time it is played.
- Mayhem in Midtown: Shoot yellow shots to defeat the Blob. Hit the targets to light red shots near them for increased points and 2x progress. 10 shots to complete. Future perk: multiball ball save timers increased.
- Genosha Under Siege: 10 red shots to defeat Avalanche & Toad, with randomly lit green shots damaging Toad for bonus scores and briefly opening up that same shot for 2x progress. Future perk: all mission & future timers increased.
Playing three and seven missions lights extra ball. Most importantly, though, every mission completed will allow the player to travel in time to the future.
The Future

Once the player has successfully completed a mission, normal game progression will be disabled until the ball is held at a post and no multiball is running. Once the shot is made, the game will pause to reveal the new timeline that Kitty Pryde and the player have been sent to. The future is a 30-second timed mode with a short ball save, and is challenging to complete and reap the rewards from (especially in the early game).
The future is overrun by Sentinels. To destroy them, shoot the flashing shots - sentinels occupy one shot each so taking advantage of the game's unique layout and getting into a shot flow is encouraged. After destroying 6 sentinels, quickly shoot the center ramp to escape the future, return to the past, and collect a future perk dependent on the mission that was completed prior! The future perks are all listed in the above "missions" section.
Sentinel Multiball

Hit the giant Sentinel head enough times to spawn one. 6 shots are needed to start the first Sentinel multiball. More precise shots are needed to start subsequent Sentinel multiballs, however. Aim for the center of the Sentinel head to deal increased damage but look out for the kicker target, which can send the ball out of control!
During Sentinel multiball, all shots will be lit for jackpots that can be increased by shooting the danger room exit ramp (2x / orange, then 3x / red): once any jackpot is scored, the next shot to it will destroy 1 sentinel. After scoring 4 jackpots at any shot, the giant sentinel head will be lit to score a super jackpot (worth 2x the value with a mouth shot). After scoring a super jackpot, the process then repeats, but with more shots required to light the jackpot up to a maximum of 6.
Super jackpots during Sentinel multiball can be worth massive amounts of points! Scores of over 100M - 200M from well-played and controlled Sentinel multiballs are more than possible if the player can hit every shot reliably. Storm's perk, awarded by completing the mission "Fiery Assault" then escaping the future, can also lead to substantial scoring from this multiball as it extends it and makes defeating sentinels easier.
Save the City Multiball

Every ramp and orbit on the playfield is marked with a certain area of the city. Hitting every labeled shot three times lights the midtown center ramp yellow to start Save the City multiball. You can view your progress towards this multiball using the UI; once all six areas are colored green instead of gray, the multiball will be lit. Progress can made towards Save the City even during other multiballs, but it can't start until all of them have ended.
During Save the City, hit the standup targets, spinner, bumpers, ramps, and Danger Room spinner to light the various city shots for jackpots (progress is indicated by the display, and hitting the blue shots will light the jackpots in white). Collect super jackpots by completing a full set of every city shot and then shooting the X-Jet, followed by the spinner: every spin for the next 15 seconds will be worth 1M and can lead to massive super jackpots!
Even poorly played Save the City multiballs tend to be worth 70M+ due to the multiball being 4-ball!
To Me, My X-Men Multiball

Hitting the purple standup targets during normal play lights Cerebro at the uptown, highway, and Danger Room exit ramps. Each lit Cerebro shot advances the locks, or you can also advance Cerebro by making a Cerebro skill shot at the uptown ramp at the start of each ball. To Me, My X-Men multiball starts after advancing Cerebro three times and cannot be started during any other multiball.
To Me, My X-Men is a simple multiball best used as a utility. All shots are lit blue to score jackpots and spawn different X-Men, but can't be hit repeatedly. There are a total of 12 members of the X-Men team to spawn, at which point the shots will no longer add to the jackpot. After scoring six jackpots, the uptown ramp is lit red to score a super jackpot, and the Danger Room exit ramp is lit to score a 2x super jackpot. The super jackpot starts at 5M.
Berzerker Multiball
This late-game multiball is a great way to put the hammer down on opponents in competitive matches. Berzerker multiball lights at the "uptown" left ramp after defeating 35 sentinels across the game: during the "sentinel facility raid" mission, during sentinel multiball, or during the future, sentinels can be destroyed. Berzerker multiball runs separate from all other modes in the game.
Berzerker multiball is a 3-ball multiball starring Wolverine. All major shots and the sentinel head are lit to score jackpots that start at 5M a piece, and must be relit by alternating between other shots. After scoring 5 jackpots, the X-jet orbit is lit to score a super jackpot worth the total of all jackpots scored so far, usually averaging about 30M for one shot. Quickly comboing off of the super jackpot into the danger room exit ramp will score a 2x super jackpot and reset the jackpot process at slightly higher values.
Danger Room

Surviving and completing training in the Danger Room is an important aspect of scoring well on The Uncanny X-Men as every training level completed increases scoring for the rest of the game. At the top of the display is a progress bar advanced with every shot made in the Danger Room. Filling the bar will advance the training level and give a different perk, but the level resets every time a mission is played:
- Level 1: All scoring for the next mission is 2x.
- Level 2: Future requires one less sentinel shot to light the escape at the center ramp.
- Level 3: All future scoring is 2x.
- 4 total levels completed: Cyclops joins the battle & combo timers are increased for the rest of the game. One-time only.
Xavier's perk, awarded by completing the "Stopping the Juggernaut" mission and escaping the future, will help make this area a little safer.
If it looks like a ball is about to enter the Danger Room from an area that isn't the X-Jet orbit, hold up your left flipper! This should become a force of habit as you play. Make sure not to do this if you’re entering the Danger Room off the exit from the X-Jet as you won’t like the drain that occurs.
Combos & Sentinel Attack
Score combos by making shots that naturally flow into each other throughout the machine. The game will never light combos at shots that can be made repeatedly, and combos can be made at any time during single-ball play, even during the future.
At 6, 8, then every 10 combos, three ramp shots (the left ramp, center ramp, and highway right ramp) will be lit to start sentinel attack, a quick timed mode that lights 2 shots (one that can be made as a combo, and one that requires a post transfer) to score quickly decreasing hurry-up values. For the first sentinel attack of the game, the first hurry-up starts at 20M and the second starts at 25M. The value increases by 5M with each successfully completed sentinel attack.
Bishop

Hitting the left pop bumper (around the area where a left slingshot would usually be) 5 times will charge up Bishop at the action button. During any mode or multiball, press the action button to spot the most valuable shot on the playfield! Bishop's perk, awarded by completing the "Rescue the Innocent" mission and escaping the future, will make it easier to rack up Bishop charges - up to 3 can be stacked at a time.
Bishop can be a great help during challenging missions or multiballs that only light one shot at a time for awards! If a tough shot is lit and you don't feel confident with being able to hit it, there's nothing wrong with using the button.
Beast’s Lab

Beast’s Lab starts every game at level 1, but hitting combos prior to hitting the target the first time will increase its level up to level 3. As soon as the target is hit, further shots will count down towards a mystery award given after the target is hit with a green light in front of it.
Typical mystery awards include points or lighting the right outlane ball save. The level 3 award will always light extra ball the first time, and then spot Beast for use in the future the second time.
Gambit

Players likely won’t aim for Gambit’s pop bumper intentionally, but he’ll always be happy to help. Every three shots to the right bumper increase the value of the next mode or jackpot shot to 2x, and hitting the bumper through an alley pass (sending it through the right inlane) does the same. Gambit's perk, awarded by completing the "Smuggled Cargo" mission and then escaping the future, will increase his shot multiplier to 3x.
Gambit might not seem like much, but he can significantly increase mode scoring if his multiplier is used on the final shot of any mission! He can also leave quite an impact on Sentinel & save the city super jackpots.
Game Survival
The Uncanny X-Men is notorious for having an unforgiving layout with many unexpected ways to drain the ball. To ensure you can keep the ball in play...
- The X-Jet shot has a standup target near it that can send balls close to the center drain. Try aiming for the shot very late from the right flipper, even on the fly, to avoid hitting this target.
- When you shoot the midtown (center) ramp, if the ball doesn't head all the way around the ramp, give the game a nudge to the right. Not nudging this feed can result in the ball entering the pop bumper array and possibly leading to a right outlane drain.
- There is a rubber near the subway (right) loop that also causes balls to head towards the pop bumper array. Prevent balls from entering the bumpers by giving the game a nudge to the left. This will also allow the ball to head to the right flipper safely for a cradle.
Noah’s Strategies
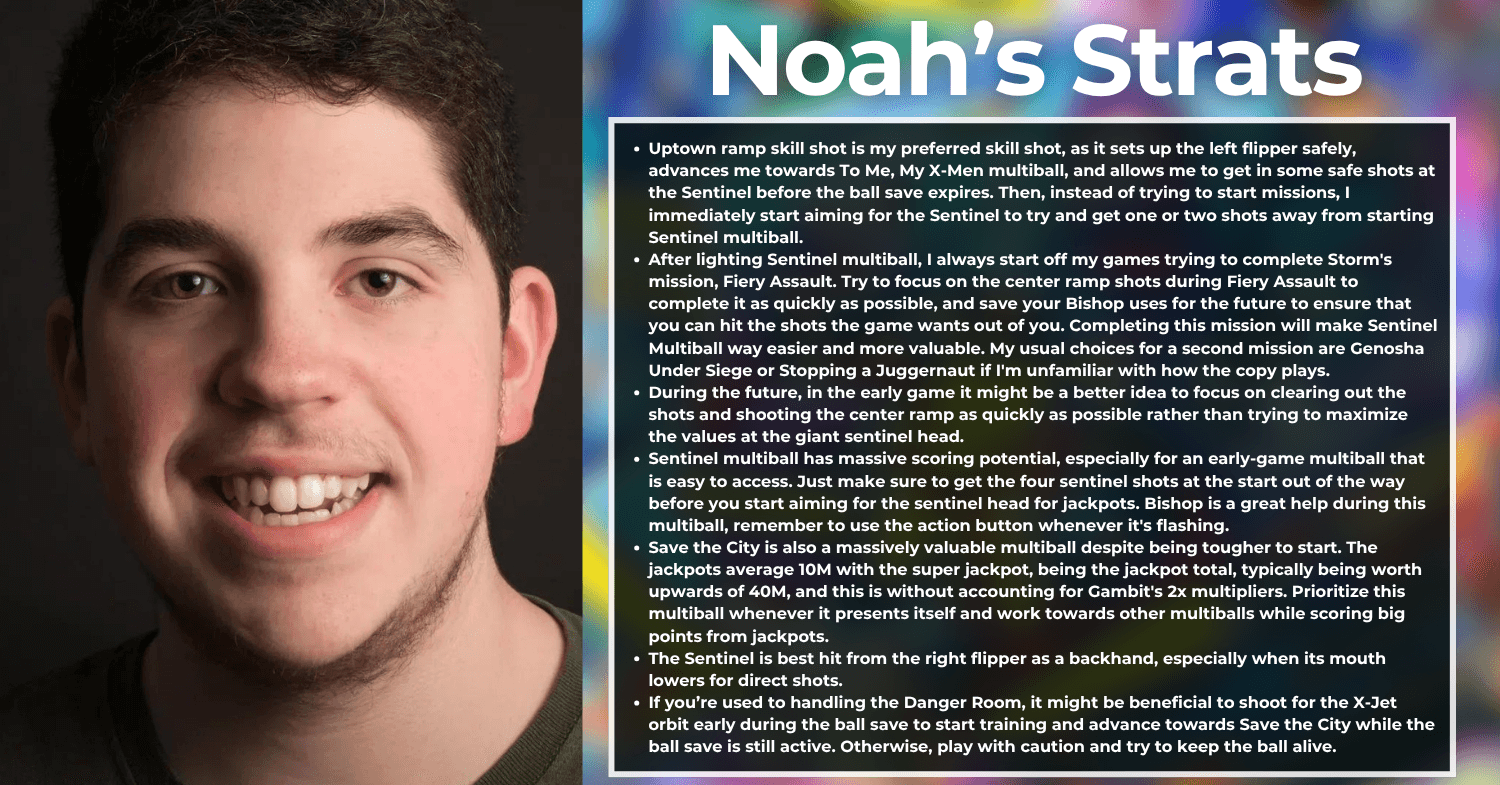
- Uptown ramp skill shot is my preferred skill shot, as it sets up the left flipper safely, advances me towards To Me, My X-Men multiball, and allows me to get in some safe shots at the Sentinel before the ball save expires. Then, instead of trying to start missions, I immediately start aiming for the Sentinel to try and get one or two shots away from starting Sentinel multiball.
- I always start off my games trying to complete Rogue's mission, Sentinel Facility Raid, and trying to repeatedly "loop" the center ramp to complete the mission quickly. Try to save your Bishop uses for the future to ensure that you can hit the shots the game wants out of you. Completing this mission will award an add-a-ball that can be used during any multiball by holding the action button for a few seconds, an incredibly beneficial award given the high values of save the city and berzerker multiballs. My usual choices for a second mission are Genosha Under Siege or Fiery Assault if I'm unfamiliar with how the copy plays.
- During the future, in the early game it might be a better idea to focus on clearing out the shots and shooting the center ramp as quickly as possible rather than trying to maximize the values at the giant sentinel head.
- Sentinel multiball has massive scoring potential, especially for an early-game multiball that is easy to access. Figure out which four shots are the easiest to hit, and ideally, hit the danger room exit ramp as early as possible to get the jackpots to 2x then 3x.
- Save the City is also a massively valuable multiball despite being tougher to start. The jackpots average 10M with the super jackpot typically being worth upwards of 50M with a few good spinner rips, and this is without accounting for Gambit's 2x multipliers. Prioritize this multiball whenever it presents itself and work towards mode completion while scoring big points from jackpots.
- If you opted to play Sentinel Facility Raid first, chances are high that you'll get to Berzerker Multiball during the game if you play well enough during the future. This multiball can win games if played well thanks to the high scoring per jackpot shot, with super jackpots commonly reaching 30M or 60M for 2x supers. Danger room's 2x sentinels award from level 3 is also a good option for advancing towards Berzerker quickly, but play with caution as one wrong move there can end your ball.
- The Sentinel is best hit from the right flipper as a backhand, especially when its mouth lowers for direct shots.
- If you’re used to handling the Danger Room, it might be beneficial to shoot for the X-Jet orbit early during the ball save to start training and advance towards Save the City while the ball save is still active. Otherwise, play with caution and try to keep the ball alive.

VHS collector, media archivist, and pinball rules aficionado, Noah has been invested in the hobby since he was a teenager - much to the surprise of his parents and others his age. As an expert on brand new machines he’s the guy to call if you’re new to the hobby, or an experienced player who wants some help. Noah hopes to participate in and perhaps even win major tournaments like INDISC as his skills improve and desires for pinball to become a more inclusive hobby.
Like what you're reading?
Get pinball news, analysis, and deep dives delivered to your inbox.
Related Posts
More in Pinball Tutorial or browse all topics.