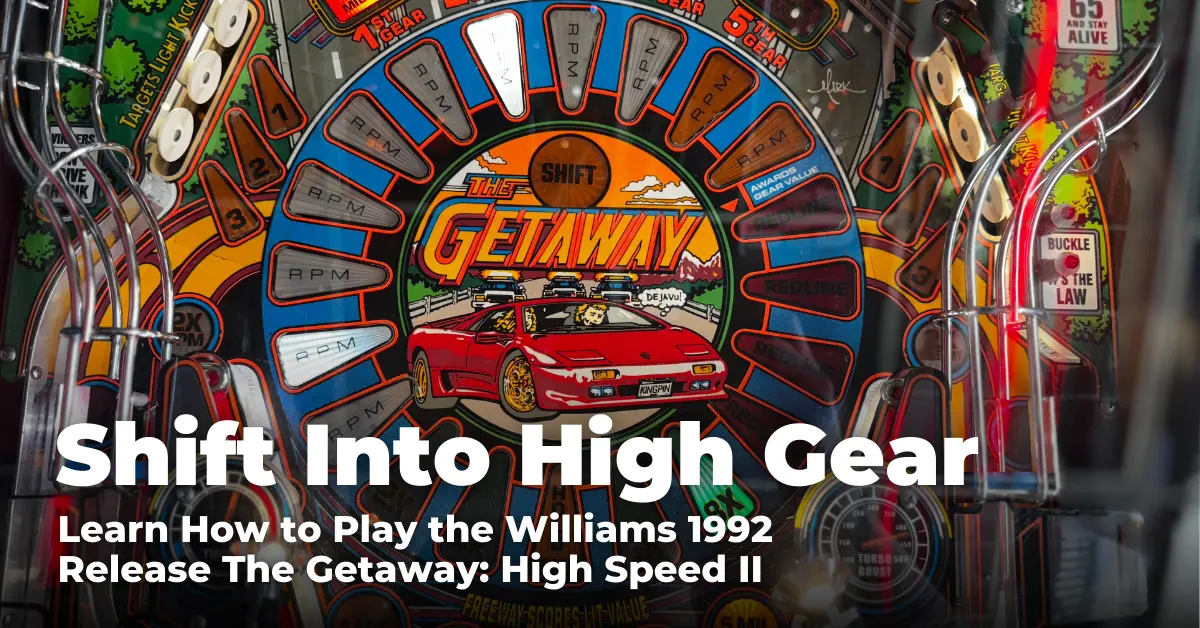
Shift Into High Gear: Learn to Play The Getaway: High Speed II
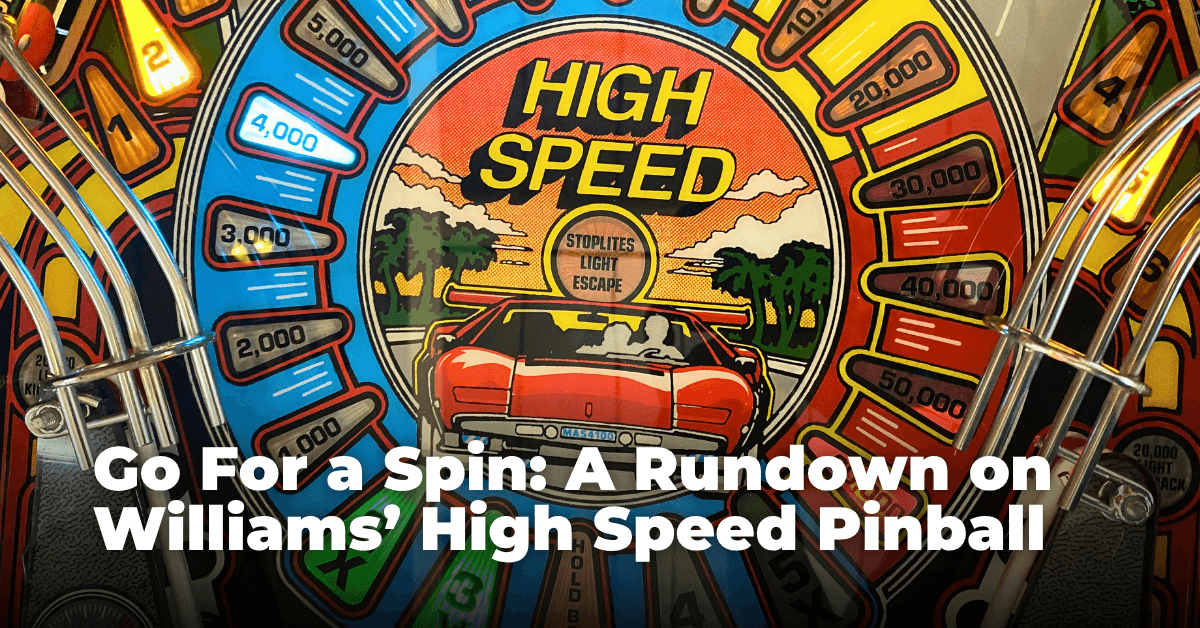
Williams’ 1986 pinball machine, High Speed, was a revolutionary pinball machine for its time. Along with being the first pinball machine to include a full song (the multiball track), it was also one of the earliest tables to tell a story of sorts; the player is a driver with no regard for safety and must escape the cops by running the red light. This table had massive influence on the pinball industry, so it makes sense that Williams was quick to capitalize on its success by releasing a remake / sequel to it in the early 90s.
The Getaway: High Speed II retains a lot of the original machine’s charm with the multiball progression but adds a new layer to the gameplay – the player advances their car’s gear by shooting orbits for RPM, and shifts gear by using an auto-plunger that also sends each ball into play. Releasing at the same time as Bally’s smash hit The Addams Family, this table provided a faster, shallower alternative to the beloved machine and is viewed by some, including myself, to be on par with that table. The table is also rather infamous for having three different ROM revisions but receiving constant updates by Dwight Sullivan to fix bugs and potential exploits, years before this became common practice on newer Stern and JJP pinball machines.
About The Getaway: High Speed II
Players take the role of a getaway driver on the run from the cops in this sequel to the 1986 Williams pinball machine High Speed.
- Manufacturer: Williams
- Release Year: 1992
- Design: Steve Ritchie
- Code: Dwight Sullivan
- Mechanics / Electronics: Carl Biagi, Greg Tastad
- Art: Doug Watson, Mark Sprenger
- Displays: Scott Slomiany
- Music / Sound: Dan Forden
Playfield Overview
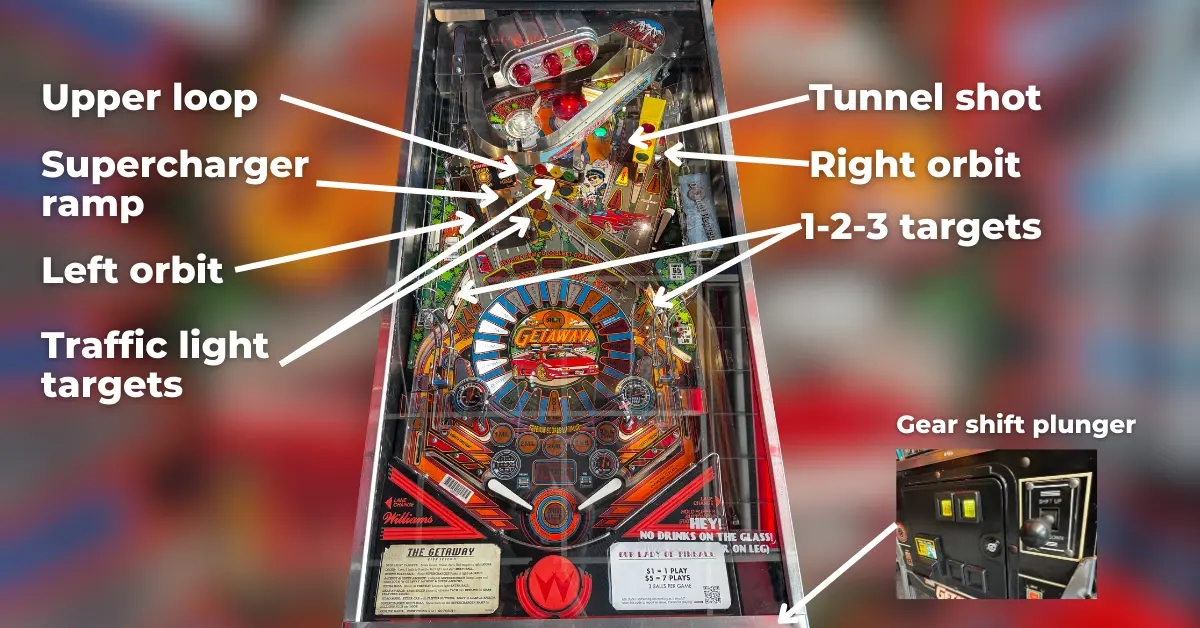
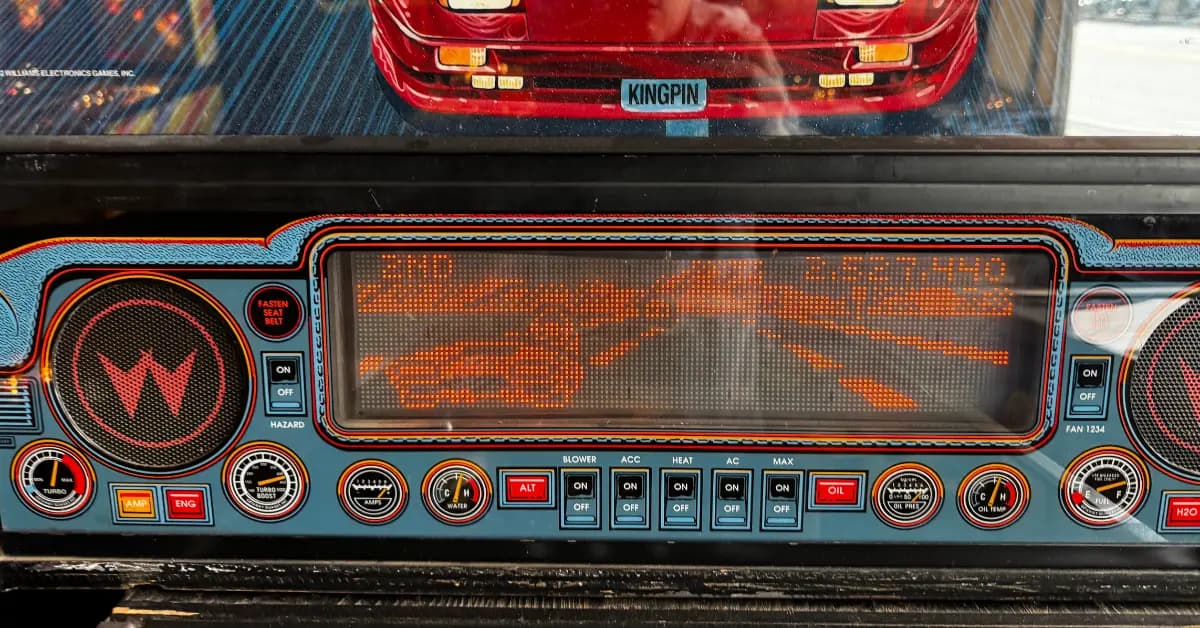
The Getaway: High Speed II has 5 major shots, and 5 banks of standup targets scattered throughout the playfield. But before discussing the shots, we need to discuss the game’s biggest gimmick – the gear shift plunger. This auto-plunger is a trendsetter in a lot of ways and can be thought of as the archetypical “action button” that newer Stern pinball machines would popularize much later. Along with being used to plunge the ball, shifting up on the gear shift will shift gears whenever the “SHIFT” yellow insert is flashing, and during video mode it can be used to shift up to gear 5 to maximize scoring during it.
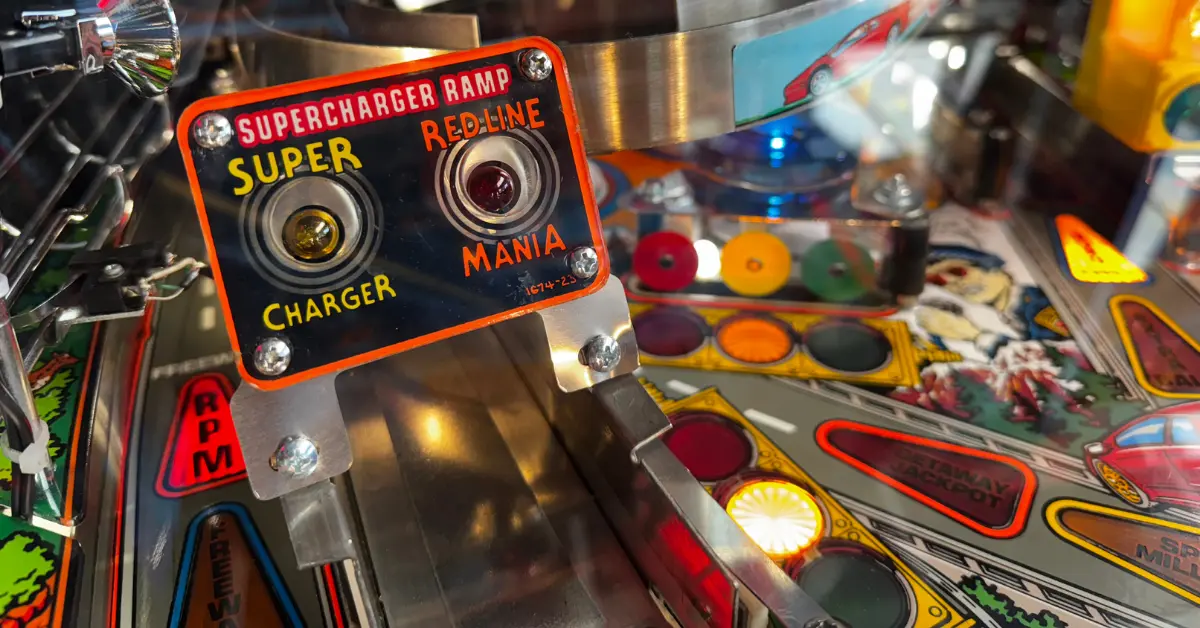
Starting at the left side of the playfield is the left orbit, which collects the freeway award when lit, feeds the upper flipper, and feeds the back ramp when lowered for multiball locks and jackpots. The main “gimmick” shot of the machine is the supercharger ramp. Normally, this ramp sends the ball directly to the left flipper, but if supercharger boost is lit (either at the start of the game, during multiball to light the jackpot, or by completing the 1-2-3 targets), magnets will send the ball looping around the large circle surrounding the bumpers. The supercharger can carry up to three balls at a time and will count multiple loops if this occurs.
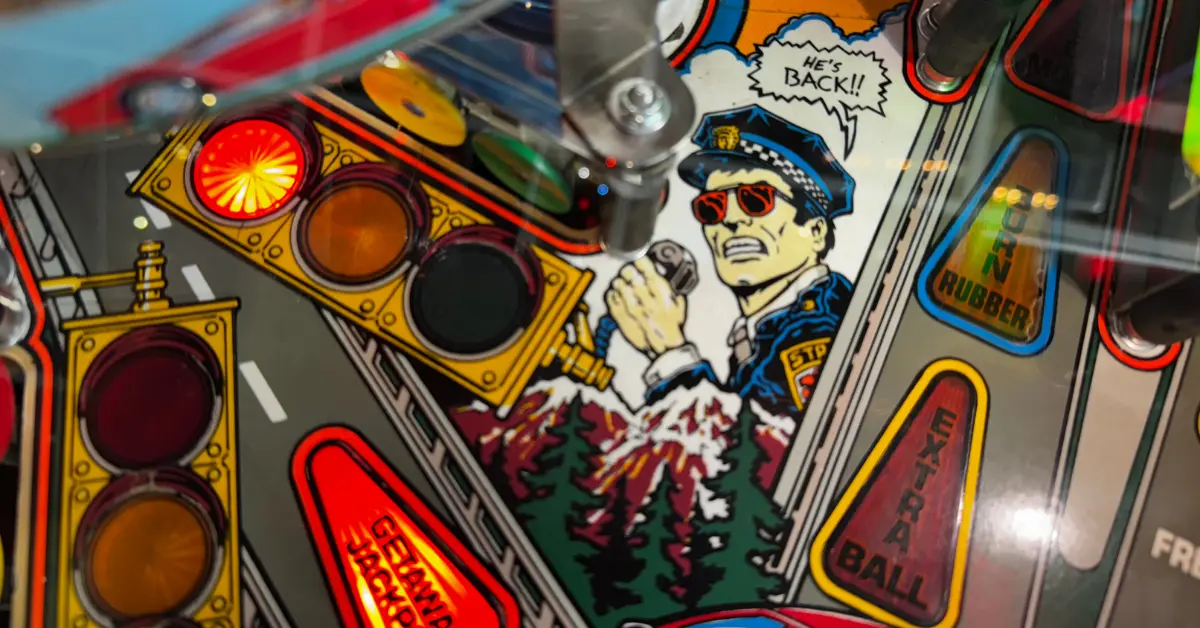
In the middle of the playfield is the upper loop, which surrounds the bumper area, and three standup target banks marked with the traditional “traffic light” colors. Hitting the targets in the order green, yellow, then red, will light the multiball locks. The upper loop can be repeatedly hit from the upper flipper for speed millions (1M+ per loop), feeds the back ramp for multiball locks and jackpots, and is the quickest way to earn RPM towards shifting gears. The bumpers located inside of the loop serve one purpose, to increase the helicopter bonus that can be scored during multiball.
The tunnel shot and right orbit are both located on the right side of the playfield. The tunnel can be shot either directly from the lower flippers or fed via the kickback on many copies of the machine. The tunnel starts video mode, collects the burn rubber mystery award and / or extra ball when lit, and counts down towards lighting the outlanes for special. The right orbit sends the ball looping back around to the left flipper, and just like its left orbit counterpart, can be lit for freeway and RPM advance.
The white 1-2-3 targets are the most unassuming shots of the machine but are worth completing if the ball happens to bounce into them. There are two sets on the far left and right sides of the playfield and hitting one target will count as hitting one on both sides. Completing 1-2-3 relights the left outlane kickback if it isn’t lit, and lights the supercharger boost at the ramp, which will be at a higher value than before since it also increases via 1-2-3 target hits.
Scoring on The Getaway: High Speed II is average for its era but has several ways to quickly blow up the score, though these require effort and knowledge of how to control multiball play & use the gear shift plunger. 50M would be considered a good score for novice players who haven’t figured out the gear shift rule yet but scores of 200M+ are possible with that knowledge.
Getting Started with The Getaway: High Speed II
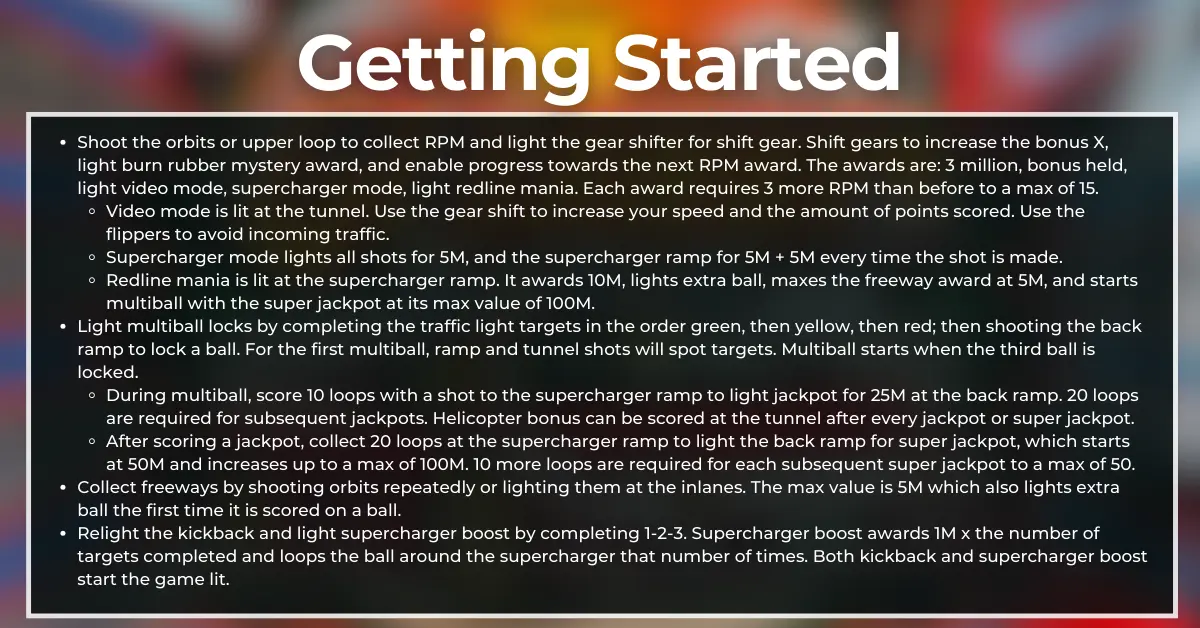
- Shoot the orbits or upper loop to collect RPM and light the gear shifter for shift gear. Shift gears to increase the bonus X, light burn rubber mystery award, and enable progress towards the next RPM award. The awards are: 3 million, bonus held, light video mode, supercharger mode, light redline mania. Each award requires 3 more RPM than before to a max of 15.
- Video mode is lit at the tunnel. Use the gear shift to increase your speed and the amount of points scored. Use the flippers to avoid incoming traffic.
- Supercharger mode lights all shots for 5M, and the supercharger ramp for 5M + 5M every time the shot is made.
- Redline mania is lit at the supercharger ramp. It awards 10M, lights extra ball, maxes the freeway award at 5M, and starts multiball with the super jackpot at its max value of 100M.
- Light multiball locks by completing the traffic light targets in the order green, then yellow, then red; then shooting the back ramp to lock a ball. For the first multiball, ramp and tunnel shots will spot targets. Multiball starts when the third ball is locked.
- During multiball, score 10 loops with a shot to the supercharger ramp to light jackpot for 25M at the back ramp. 20 loops are required for subsequent jackpots. Helicopter bonus can be scored at the tunnel after every jackpot or super jackpot.
- After scoring a jackpot, collect 20 loops at the supercharger ramp to light the back ramp for super jackpot, which starts at 50M and increases up to a max of 100M. 10 more loops are required for each subsequent super jackpot to a max of 50.
- Collect freeways by shooting orbits repeatedly or lighting them at the inlanes. The max value is 5M which also lights extra ball the first time it is scored on a ball.
- Relight the kickback and light supercharger boost by completing 1-2-3. Supercharger boost awards 1M x the number of targets completed and loops the ball around the supercharger that number of times. Both kickback and supercharger boost start the game lit.
Gear Shift Awards & How to Shift Gears
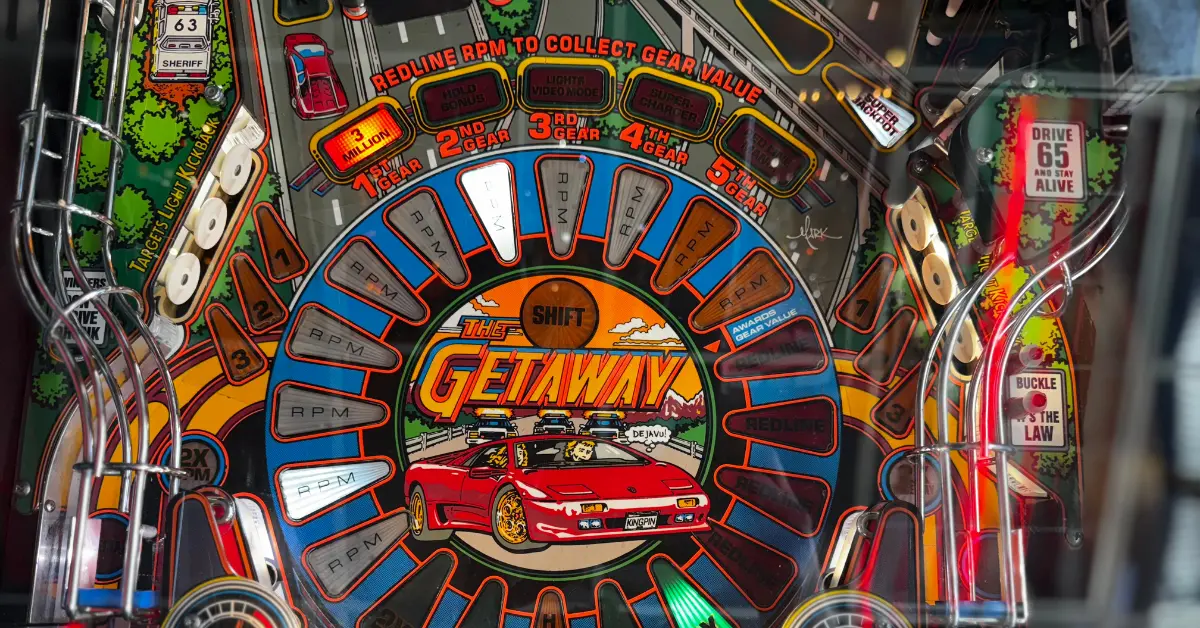
To light “SHIFT”, orbit shots must be completed to earn RPM. The upper loop and left / right orbits all award 1 RPM, with the right orbit awarding 2x RPM if lit via the left inlane (which lights once the player has shifted to the next gear). The 1st gear award is given at 1 RPM and each subsequent award requires 1 more than the last (essentially, the gear number = the number of orbit shots needed).
If there’s anything you should remember from this guide, remember this! Whenever the yellow “SHIFT” light in the center of the RPM circle is flashing, pull “up” on the plunger and you’ll be able to shift to the next gear, relight the inlanes, and relight the Burn Rubber mystery award. Try and make a habit of doing this as early as possible. And the game won’t mind if you shift using your right knee either, so make of this what you will.
There are five gear awards given in the following order:
- 1st Gear: 3 Million, (awarded instantly).
- 2nd Gear: Hold Bonus (including the multiplier).
- 3rd Gear: Light Video Mode (at the tunnel). During video mode, use the flippers to avoid the obstacles and gear shifter to advance gears – you score more the faster you drive. Try staying in between two lanes to maximize scoring from video mode.
- 4th Gear: Supercharger Mode (started instantly). For 20 seconds, all shots are lit for 5M and the supercharger ramp is lit to award 5M + 5M every time it is made during the mode.
- 5th Gear: Light Redline Mania (at the supercharger ramp). This is comparable to a wizard mode. It awards 10M, lights extra ball, maxes out the freeway value at 5M, relights the kickback, and starts multiball but with the jackpot instantly lit and the super jackpot at its maximum value of 100M.
Running the Red Light
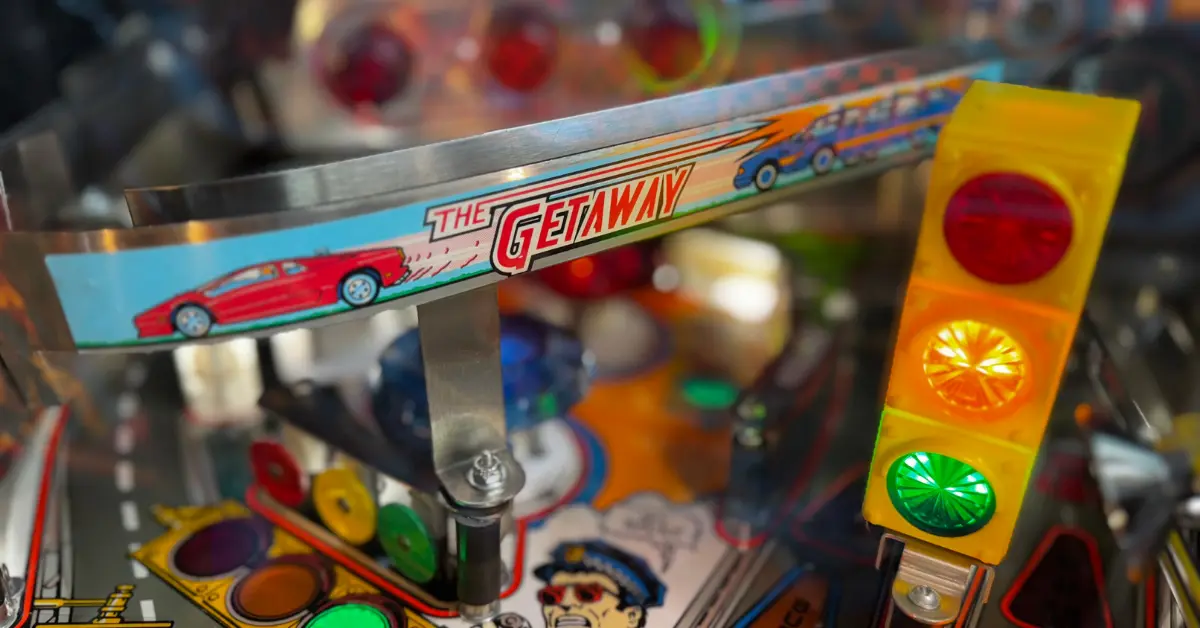
Multiball on The Getaway: High Speed II is started very similarly to its predecessor. Light the lock at the back ramp by completing three lights of the same color: first green, then yellow, then red. For the first multiball, the colored lights can be spotted with supercharger ramp shots or tunnel shots.
Locking the third ball represents running the red light and will start multiball. During multiball, the main shot to prioritize should be the supercharger ramp, which will send any ball that enters it for 10 loops and light the jackpot for 25M at the back ramp. There is a grace period called “getaway time” on the jackpot that lasts for 20 seconds after draining down to a single ball, if the jackpot hasn’t been scored.
After scoring a jackpot, the super jackpot can be scored by collecting 20 loops at the supercharger ramp, then making the back ramp shot. The super jackpot normally starts at 50M and increases by 75M per super, but if the player started redline mania by maxing out their RPM as described above, it will always award its maximum value of 100M and will increase by 25M every time it is scored during redline mania.
After scoring either a jackpot or super jackpot, the next shot to the tunnel will award the helicopter bonus, built up by bumper hits to no known limit (though it has a base value of 5M). The tunnel will also hold any ball that enters it for a short time before releasing it to the upper flipper.
Every time the player starts multiball it will be tougher to light jackpots and super jackpots, increasing the number of required supercharger loops by 10. The jackpot maxes out at 20 loops to light and the super jackpot maxes out at 50 loops to light.
Freeways & Speed Millions

Hitting the orbits in quick succession is key to high scoring, and not just because of the RPM advances that they award. After hitting either orbit or rolling through the inlane on the opposite side of the orbit, the orbit will award the current freeway value, which starts at 1M and increases up to 5M & light extra ball for the fifth freeway scored in a ball. The right inlane can be lit for 2x freeway every time the player shifts gear, and will award 2x the current freeway value unless the lock is lit at the back ramp.
Speed millions are scored by repeatedly shooting the upper loop. Every time the player shoots the upper loop, they will collect RPM and so long as the yellow “speed millions” light is flashing, collect 1M + 1M per subsequent shot. On some copies, repeatedly draining the ball while free ride (ball save) is on can result in collecting speed millions & RPM for free! There is also a loop champion spot on the leaderboards given to whoever manages the biggest award from speed millions.
Hitting the left orbit followed by the upper loop, so long as the back ramp isn’t lowered, will award a 2-way combo and a value starting at 1M increasing by 1M each time it is scored to a max of 10M.
1-2-3 Targets, Kickback & Supercharger Boost
The 1-2-3 targets might be located on the very sides of the game but are important to keeping the ball alive as they relight the left outlane kickback when completed. Progress between the two banks of 1-2-3 targets is shared but will disappear after about 10 seconds without hitting a target. Aiming for these targets can be deadly, so try to avoid them unless you’ve completed at least two of the three targets through random bounces.
Hitting 1-2-3 targets also increases the value of the supercharger boost award scored at the ramp, lit at the start of the game and whenever the targets are completed afterwards. Shooting the ramp when lit for supercharger boost scores an award between a base value of 3M and its max value of 10M and loops the ball around the ramp one time for each million awarded.
Burn Rubber
Burn Rubber is a mystery award scored at the tunnel, which relights every time the player shifts gears. It can only be scored during single-ball play but there are several worthwhile awards here.
Typically, burn rubber will award points between 1M – 10M, light a lock, video mode, or award 1 RPM towards the next gear. Rarer awards are given based on percentaging and include multiball, extra ball / special, or instantly scoring the next gear award. These rarer awards are often disabled in competitive play.
Extra Balls & Special
Being an early 90s table, there are many ways to earn extra balls on The Getaway: High Speed II and a dedicated way to light the outlanes for special.
Extra ball lights at the tunnel by starting redline mania or maxing out the freeway value. Completing the traffic light targets during multiball or supercharger mode also lights extra ball, but this is incredibly risky and nowhere near as valuable as the jackpots or supercharger 5M+ that should be prioritized.
Special is lit at either outlane after shooting the tunnel an adjustable number of times (usually 8), then every 50 thereafter. As usual, the slingshots change which outlane is lit for special.
Noah's Strategies
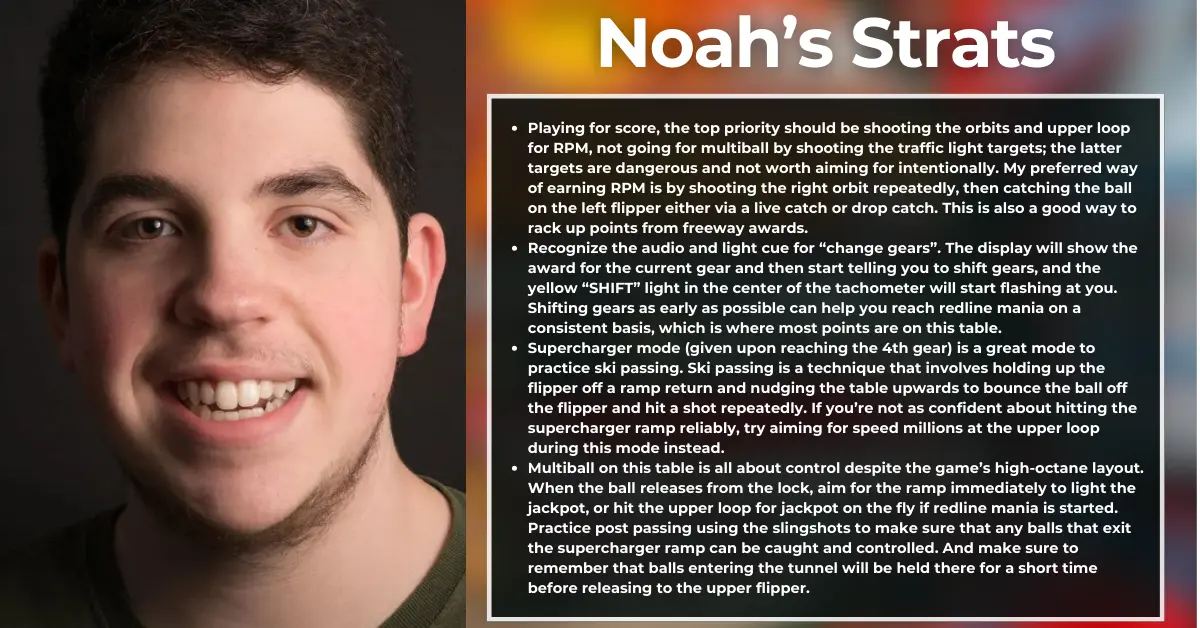
- Playing for score, the top priority should be shooting the orbits and upper loop for RPM, not going for multiball by shooting the traffic light targets; the latter targets are dangerous and not worth aiming for intentionally. My preferred way of earning RPM is by shooting the right orbit repeatedly, then catching the ball on the left flipper either via a live catch or drop catch. This is also a good way to rack up points from freeway awards.
- Recognize the audio and light cue for “change gears”. The display will show the award for the current gear and then start telling you to shift gears, and the yellow “SHIFT” light in the center of the tachometer will start flashing at you. Shifting gears as early as possible can help you reach redline mania on a consistent basis, which is where most points are on this table.
- Supercharger mode (given upon reaching the 4th gear) is a great mode to practice ski passing. Ski passing is a technique that involves holding up the flipper off a ramp return and nudging the table upwards to bounce the ball off the flipper and hit a shot repeatedly. If you’re not as confident about hitting the supercharger ramp reliably, try aiming for speed millions at the upper loop during this mode instead.
- Multiball on this table is all about control despite the game’s high-octane layout. When the ball releases from the lock, aim for the ramp immediately to light the jackpot, or hit the upper loop for jackpot on the fly if redline mania is started. Practice post passing using the slingshots to make sure that any balls that exit the supercharger ramp can be caught and controlled. And make sure to remember that balls entering the tunnel will be held there for a short time before releasing to the upper flipper.
VHS collector, media archivist, and pinball rules aficionado, Noah has been invested in the hobby since he was a teenager - much to the surprise of his parents and others his age. As an expert on brand new machines he’s the guy to call if you’re new to the hobby, or an experienced player who wants some help. Noah hopes to participate in and perhaps even win major tournaments like INDISC as his skills improve and desires for pinball to become a more inclusive hobby.
Like what you're reading?
Get pinball news, analysis, and deep dives delivered to your inbox.
Related Posts
More in Pinball Tutorial or browse all topics.